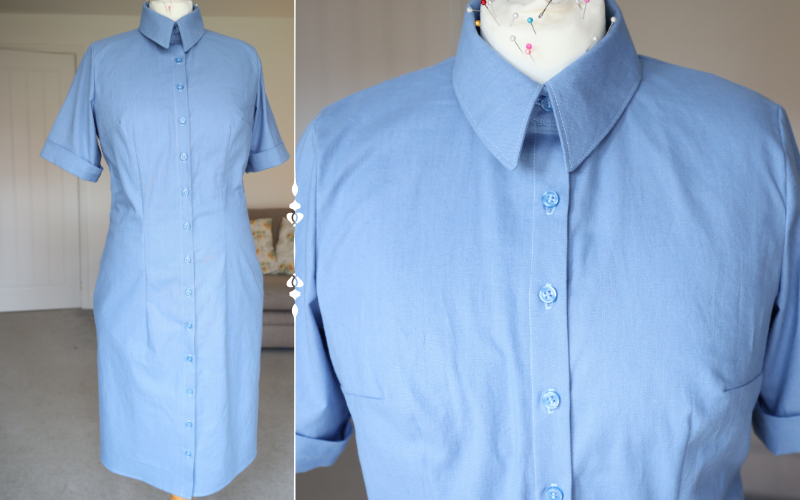
If you have sewn a shirt, you may naturally wonder how to sew a shirt dress. You will be pleased to know that the process is very much the same — you just have longer side seams!
In my shirt sewing blog post, I have gone through the step-by-step process of how to sew a shirt, but here I will show you how I sewed my shirt dress. You can add side pockets or belt loops, but I kept mine quite basic to help you practise the main construction skills.
In this post, I will also show you how to use a button spacing tool, which I found particularly useful for marking buttonhole locations more quickly.
I am using my own self-drafted pattern from how to draft a shirt dress pattern, but the construction process is the same when using a commercial sewing pattern.
Process Overview for Sewing a Shirt Dress
To make a shirt dress, you need to follow these main processes:
- Cut and interface the fabric pieces
- Sew the button stand
- Sew the darts
- Construct the collar and collar stand
- Sew the shoulder seams
- Attached the collar and collar stand to the shirt dress
- Sew the sleeves and side seams
- Sew the shirt dress hem
- Mark and sew the buttonholes and buttons
- Give the finished garment a final press
This is my tried-and-tested construction order, which I have used over the years. It gives a neat finish and helps ensure correct button placement on the shirt dress..
Tools and Materials You Need to Sew a Shirt Dress
To complete the shirt dress, you will need these tools and materials:
- Shirt Dress pattern
- Long Sleeve shirt sleeve pattern (with sleeve placket and cuff patterns) or short sleeve pattern (with or without roll-up sleeve extension)
- Collar and collar stand patterns
- Medium weight fabric (2-3m). Natural fibres is the best option.
- Matching thread
- Soap, chalk or a removable fabric marker
- Scissors
- Grading ruler or basic ruler
- Steam iron
- Sewing machine
- Pins or clips
I like to use soap as a fabric marker because I already have plenty of small pieces lying around, and the marks can be removed easily with a little steam.
Cutting and Interfacing Fabric Pieces for a Shirt Dress
Pieces Required to Sew a Shirt Dress
You will need to cut these pieces for a shirt dress:
- 2 x front bodice pieces
- 1 x back bodice piece cut on the fold
- 2 x sleeve pieces cut as mirror image of each other
- For a long shirt sleeve, you will also need:
- 2 x shirt plackets cut as mirror image of each other
- 2 x cuff pieces and interfacing
- For a short-sleeve option with roll-up sleeves, you will need 2 x roll-up extensions
- For a long shirt sleeve, you will also need:
- 2 x collar pieces cut on the fold + 1 x interfacing piece cut on the fold
- 2 x collar stand pieces cut on the fold + 1 x interfacing piece cut on fold
- Interfacing for button stand
Fabric Cutting for a Shirt Dress
Mirror Image
To cut pieces as mirror images, such as the front bodice pieces, you can either fold the fabric with the right sides together and mark and cut both pieces at the same time, or cut one piece, then flip the pattern upside down and cut the other.
Seam Allowance
Since I am using a self-drafted pattern that does not have any seam allowance, I add seam allowance before cutting out the fabric pieces. The seam allowance for the plain-weave cotton that I am using is 1 cm, but you can choose a more appropriate option using my blog post on how to add seam allowance.
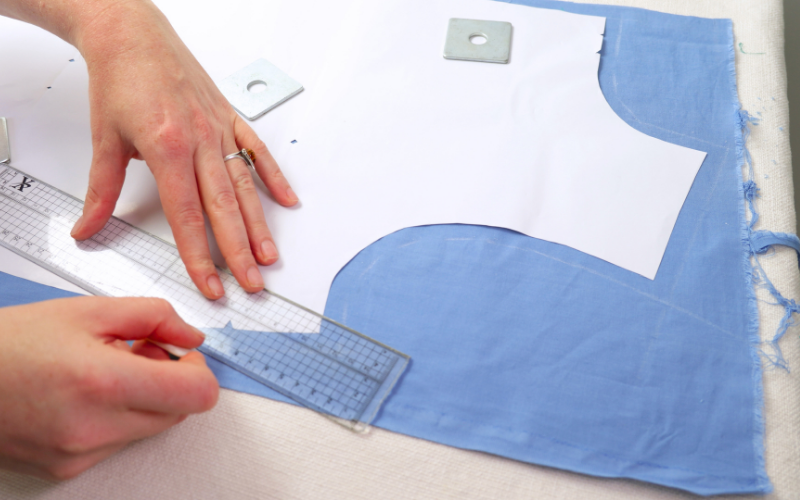
Transferring Pattern and Dart markings
You will need to transfer the pattern markings to the fabric. These are the key markings that you need to transfer:
- Mid points on back bodice piece, collar and collar stand
- Shoulder marking on the sleeve crown
- Button stand markings
- Front and back darts
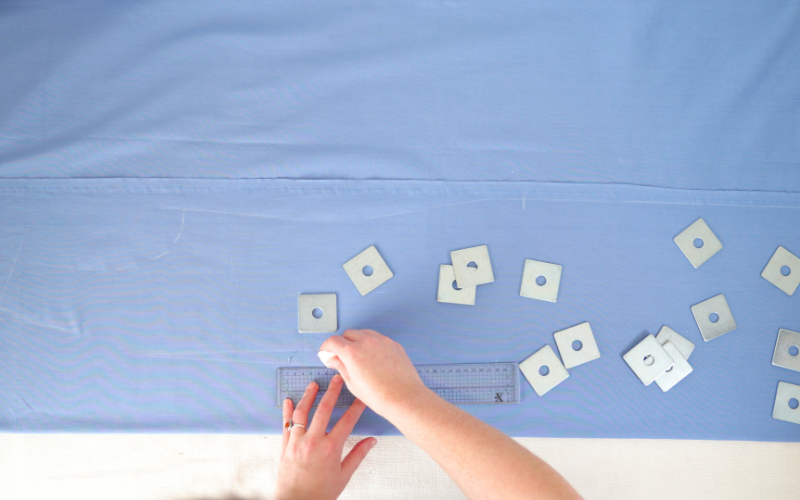
You do not need to transfer buttonhole and button placement as we will be dealing with these later directly on the sewn garment.
Quick Tip on Dart Marking
Cut small notches for the dart points on the paper pattern to make transferring the dart points easier. Then connect the markings with straight lines to mark the sewing lines.
Interfacing the Button Stand, Collar and Collar Stand
With the pieces cut and markings transferred, it is time to apply the interfacing.
For most projects, I like to apply interfacing to all the required pattern pieces at once rather than waiting until each construction step. This saves time heating up the iron again and again. However, if you are planning to sew the project over a few days, you can deal with the interfacing at each construction step instead.
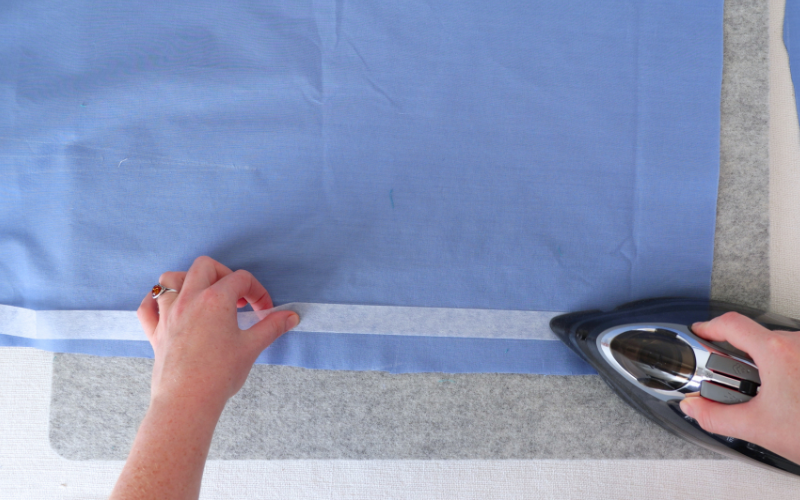
I do not cut out the interfacing pieces using the matching paper pattern pieces. Instead, I use the cut fabric pieces as a guide by positioning them on top of the interfacing, with the bumpy glue side of the interfacing positioned against the wrong side of the collar and collar stand pieces.
You can choose to pin them in place, use fabric weights, or go rogue and trust that the fabric will not shift while you cut out the interfacing using the fabric as a template.
For the button stand, I cut strips of interfacing that are a smidge narrower than the button stand. This way, the button stand does not become wider as you fold the facing, which can otherwise cause challenges when sewing on the collar. I share more tips in my button stand sewing guide.
How to Sew a Shirt Dress – Step by Step
You will be using a basic plain stitch for most of the project, with the exception of buttonholes and buttons, where specialist stitches will be required. You can review how to use these stitches in my basic sewing stitches post.
To neaten the seams, I am using an overlocker, but you can try other seam finishes
Step 1: Sew a Button Stand
Start by folding the button stand along the fold lines, using the interfacing as a guide, and press it with a steam iron.
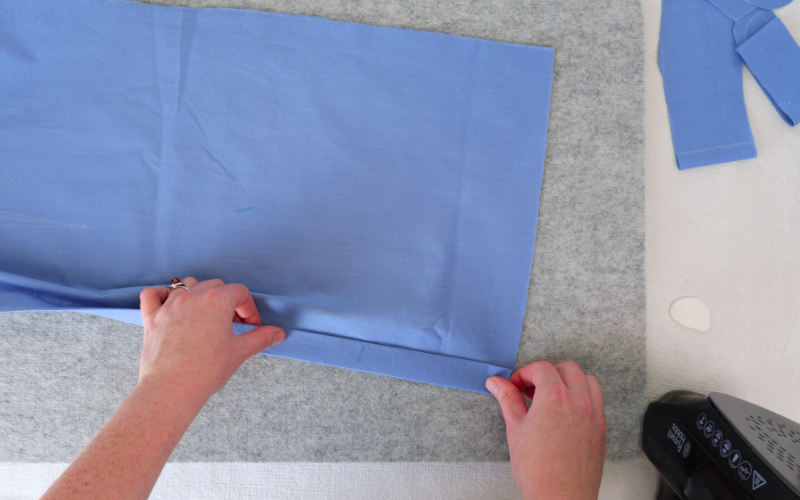
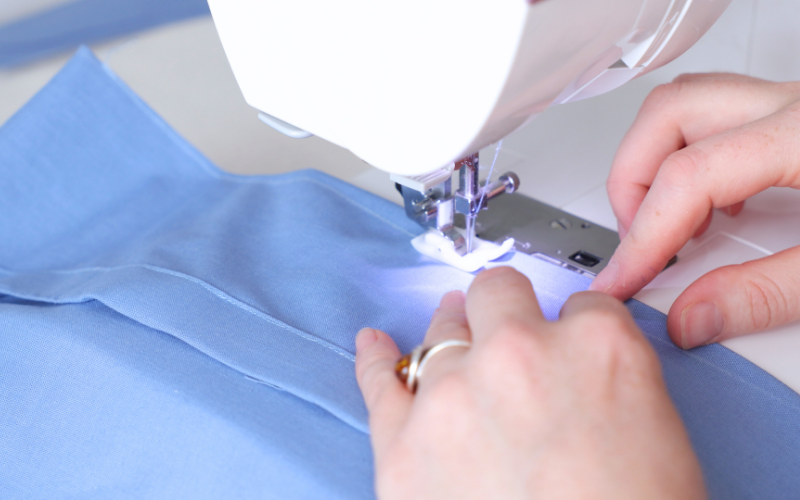
Then sew the button stand in place from the right side.
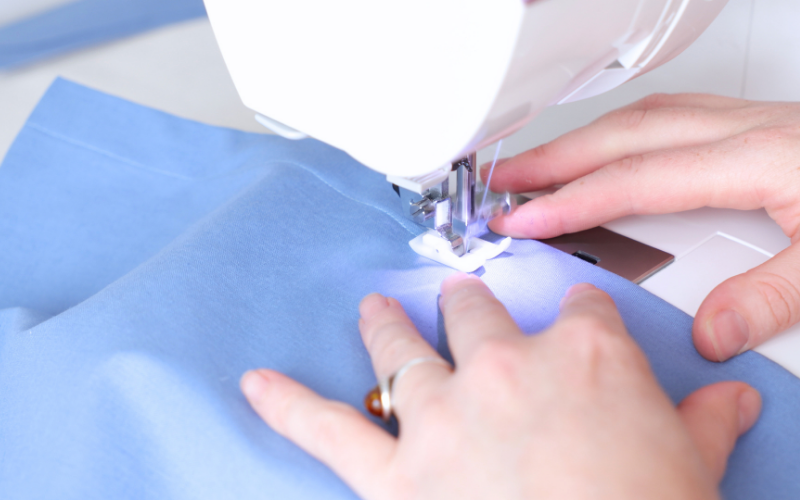
There are a few bits of know-how involved in sewing a perfect button stand, such as ensuring that the topstitching is straight and neat. I have shared these tips in my free, in-depth button stand sewing tutorial. sew a perfect buttonstand, such as tips for ensuring a straight and neat topstitching. I have shared with them in my free in-depth button stand sewing tutorial.
I mark and sew the buttonholes once the rest of the dress is completed to ensure that the button stands match up correctly on both sides.
Step 2: Sew Darts on a Shirt Dress
With the button stand completed, you can sew the darts.
On my dress bodice pattern, I have a side bust dart, a bust-to-hip dart, a back shoulder dart and a shoulder blade-to-hip dart.
I usually start with the front bodice piece, but you may want to practise with the back bodice darts first if you are concerned about how well you may execute them.
For an open dart that starts at the side or shoulder, start sewing from the dart opening towards the dart tip, backstitching at the beginning to secure the stitches.
For closed darts that go through the waist, you can sew from either tip towards the widest part, or from the widest part towards the dart tip. I explain both options in more detail in my post on how to sew perfect darts.
Once sewn, press all vertical darts towards the centre and all horizontal darts towards the hem.
The reason you need to sew the button stand before sewing the darts is that the darts create a three-dimensional shape, which would make it harder to sew a straight button stand.
Step 3: Sew the Collar and Collar Stand on a Shirt Dress
Firstly, with right sides facing, pin and sew the collar pieces together along the sides and collar leaf (the top edge).
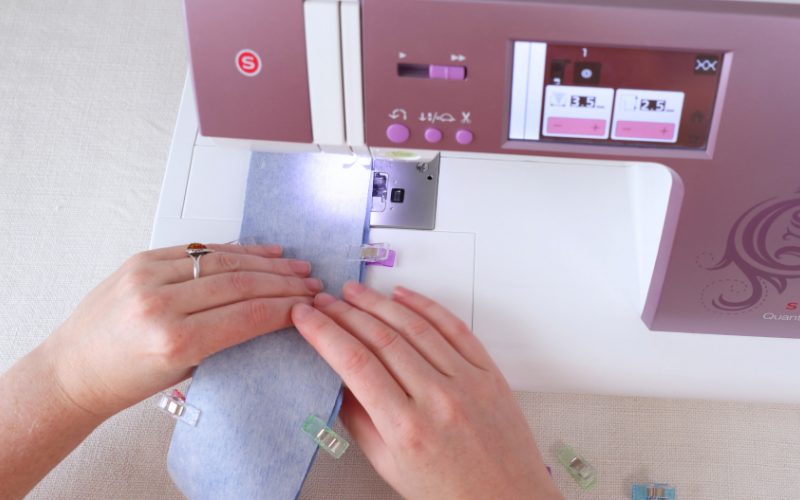
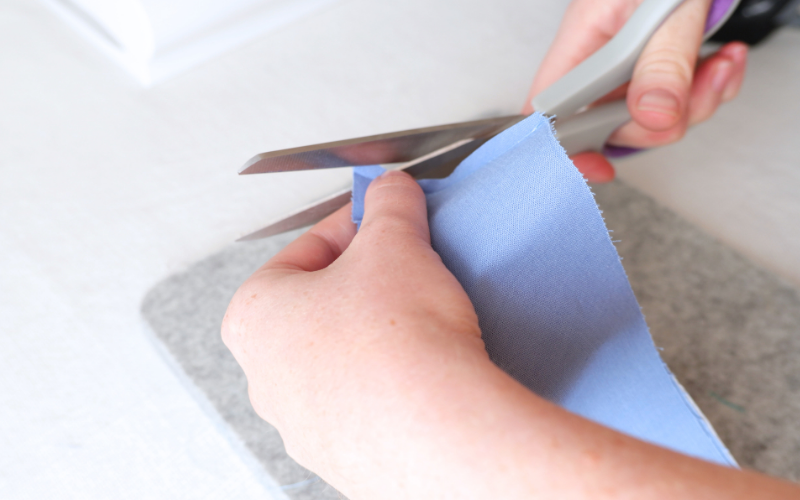
Press the seam allowance open and trim the corners before turning the collar right side out.
Press it again and topstitch close to the edge.
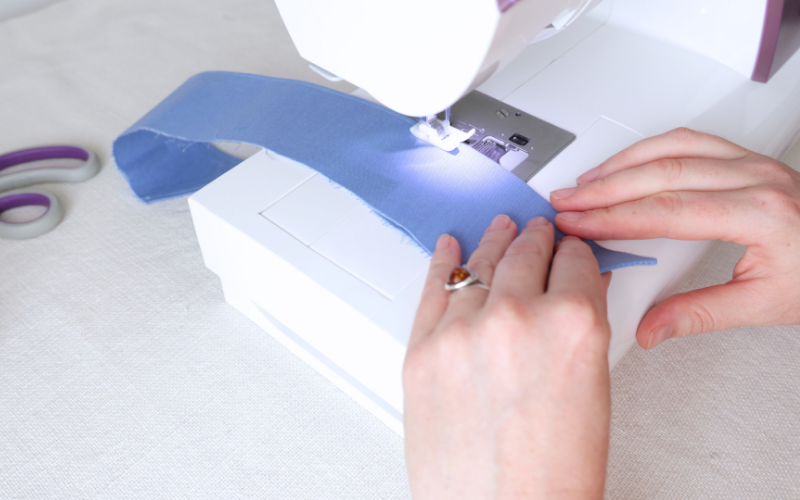
Sandwich the collar between the collar stand pieces with right sides facing, matching the centre notches. Align the collar edge with the point where the button stand begins, or with the collar placement marking if your collar ends before the button stand.
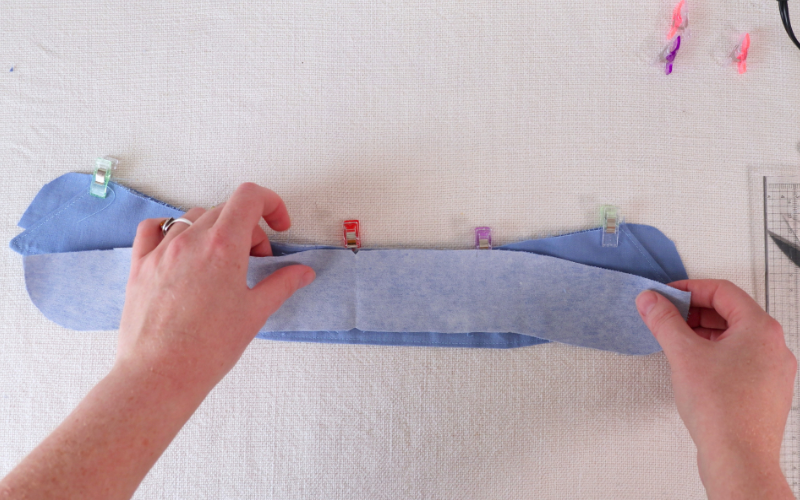
NB! Make sure that the interfaced side of the collar stand is against the uninterfaced collar piece.
Sew along the collar stand from the lower part of one front edge all the way around to the lower part of the other front edge, moving the collar points out of the way.
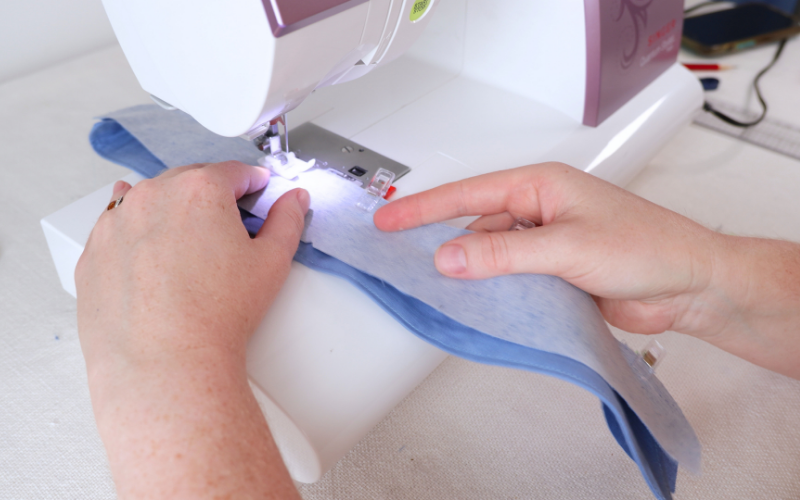
Grade the seam allowance to reduce bulk. Press the seam allowance, turn the collar the right way out and press again.
Step 4: Sew the Shoulder Seams
Before you can attach the collar and collar stand to the shirt dress, you need to sew the shoulder seams.
Press the seam allowance open for a smoother finish. I use an overlocker to neaten the raw edges, but you can consider other seam finishing methods.
Commercial pattern instructions will often tell you to staystitch the neckline to ensure that it does not overstretch while you pin the collar in place. However, I find that this is unnecessary for mid-weight plain-weave cotton fabrics. On the contrary, the lack of staystitching can make attaching the collar a little easier.
Step 5: Attach the Collar to the Shirt Dress
Next, with right sides facing, pin the interfaced collar stand to the right side of the shirt dress, matching the centre and shoulder notches and aligning the edge of the collar stand with the edge of the button stand.
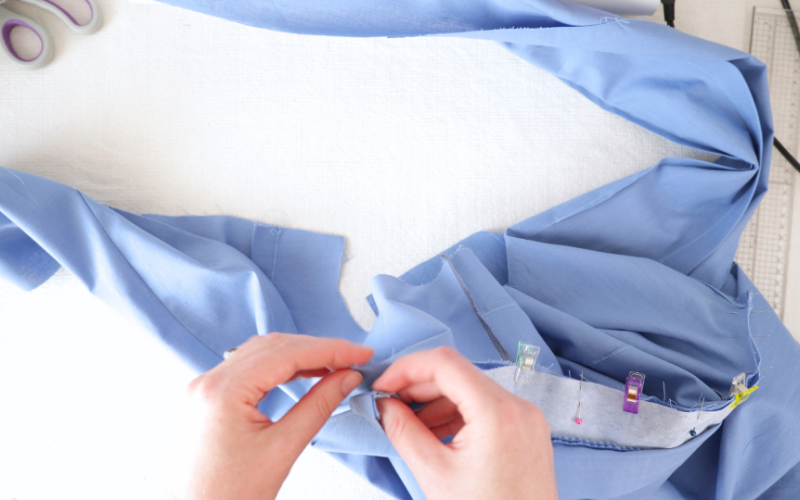
In my blog post on how to sew a collar, I share a tip on how to make sure the transition from the collar stand to the shirt at the button stand is smooth and professional.
Then sew it in place. Press the seam allowance towards the collar stand. You can grade the seam allowance here if it is more than 1 cm (5/8″).
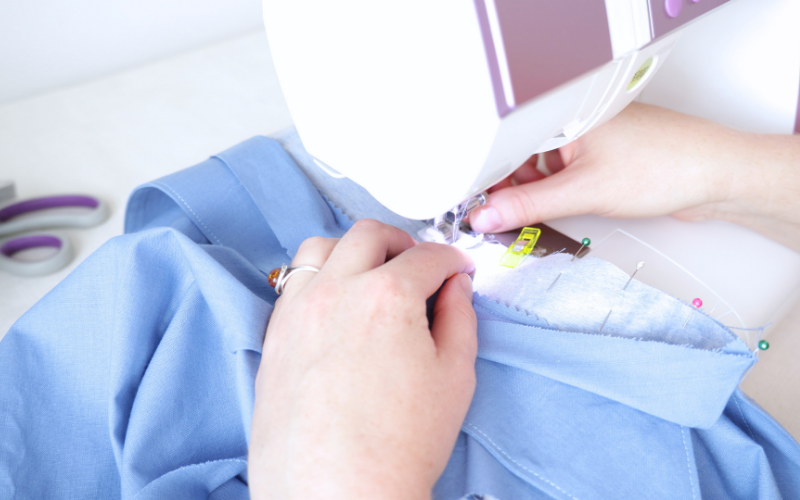
Pin the other side of the collar stand in place, folding under and hiding the seam allowance.
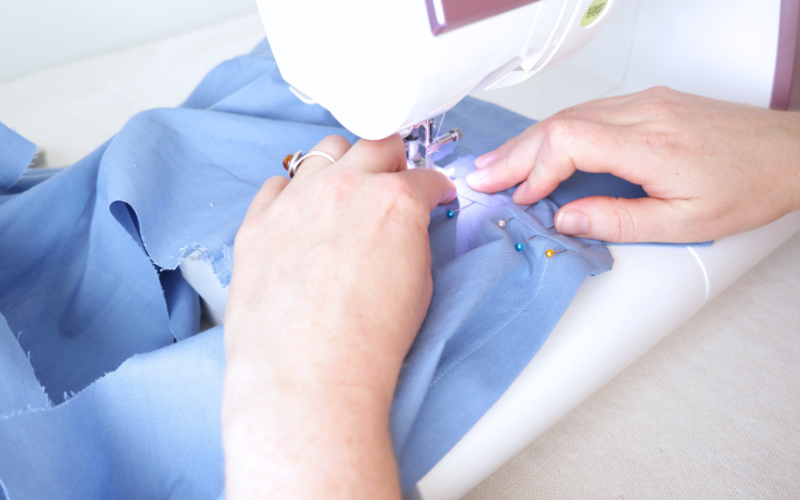
I place the first few pins on the wrong side of the shirt dress at the front, shoulder seams and back. Then I re-pin the rest from the right side, placing the tip of the pin into the seam and catching the folded collar stand on the other side.
Next, sew the collar stand from the right side, sewing in the ditch and capturing the folded collar stand on the inside.
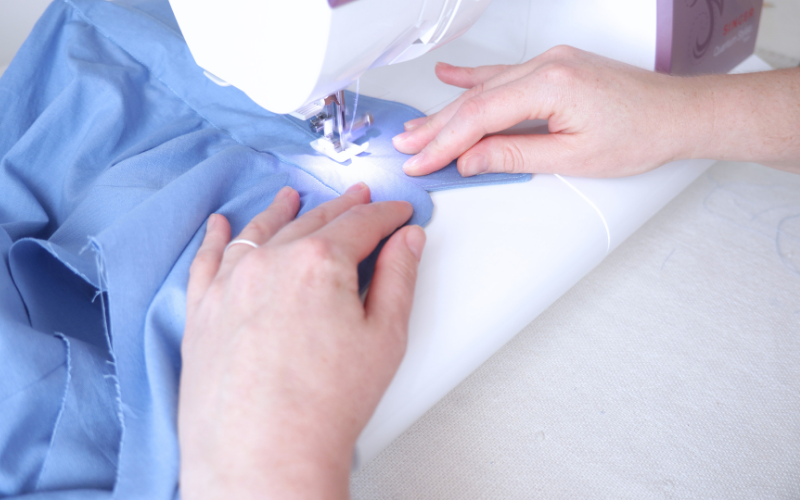
I would recommend removing the pins just before the needle reaches them to avoid jagged seams and reduce the risk of breaking a sewing needle.
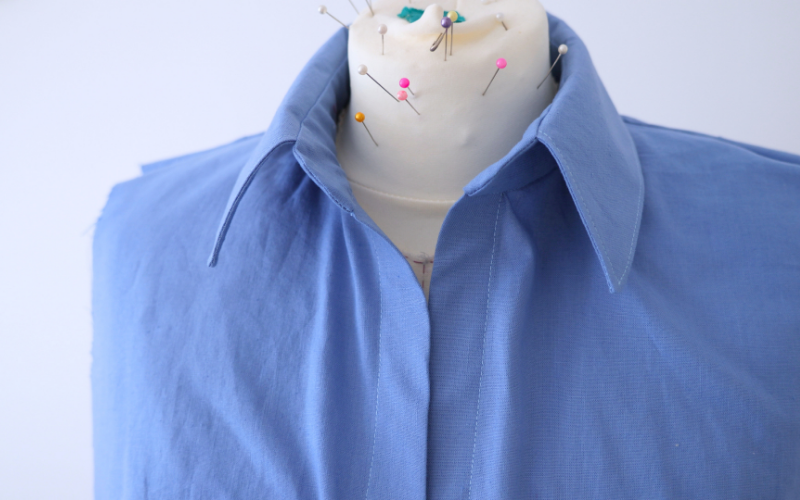
Press the sewn collar stand before topstitching along the front edge of the collar stand and along the seam where the collar joins the collar stand.
Step 6: Sew the Sleeves and Side Seams on a Shirt Dress
When sewing sleeves, you have two options: you can either insert the sleeves flat before sewing the sleeve and bodice side seams together, or complete the sleeve and shirt dress side seams first before inserting the sleeve.
In my blog post on how to sew shirt sleeves, I show you how to use either option and also introduce a third method of sleeve insertion.
For a short sleeve with a roll-up extension, I prefer sewing the sleeves and bodice separately. This is because the shorter sleeve gives you less room to manoeuvre when sewing more complex sleeve openings.
I made my dress with short roll-up sleeves. For these, I followed this construction order:
- Sew the side seams on the bodice, press the seams open, then use an overlocker to neaten the raw edges.
- Sew the sleeve seams in the same way.
- Attach the roll-up extensions. I explain how to do that in my post on how to sew a roll-up sleeve.
- Insert the sleeves with right sides facing, pinning them in place and sewing to secure. Then press the seam open before finishing it with an overlocker.
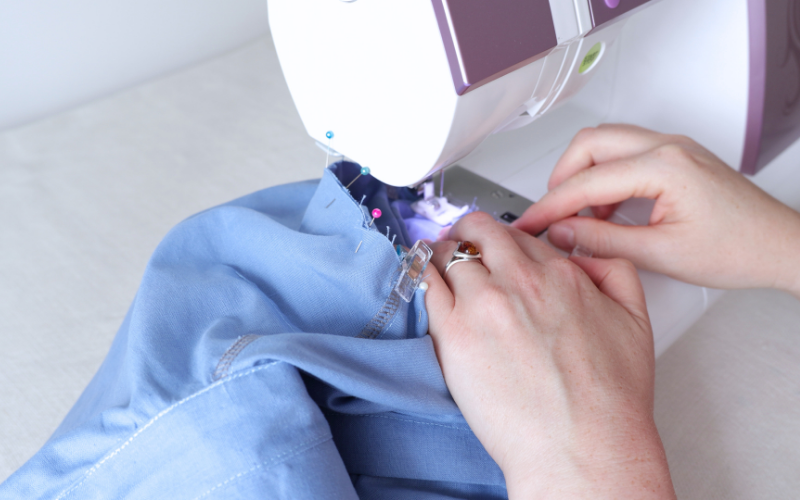
For a long shirt sleeve, follow my instructions on how to sew shirt sleeves, where I also explain how to sew the sleeve placket and how to sew a sleeve cuff.
Step 7: Sew a Hem on a Shirt Dress
Once the main construction of the dress is complete, you can sew the hem.
The first thing I do is check that the length of the dress is the same at the front by aligning the button stand. If one side is shorter, make a mark on the longer side and connect it to the rest of the hem using a smooth line. Adjust the length by cutting along the marked line.
To reduce bulk at the seams, I also undo the button stand stitches near the hem. Then I unfold the facing and trim away the excess near the hem. Next, I fold the button stand back and stitch where the stitches were removed.
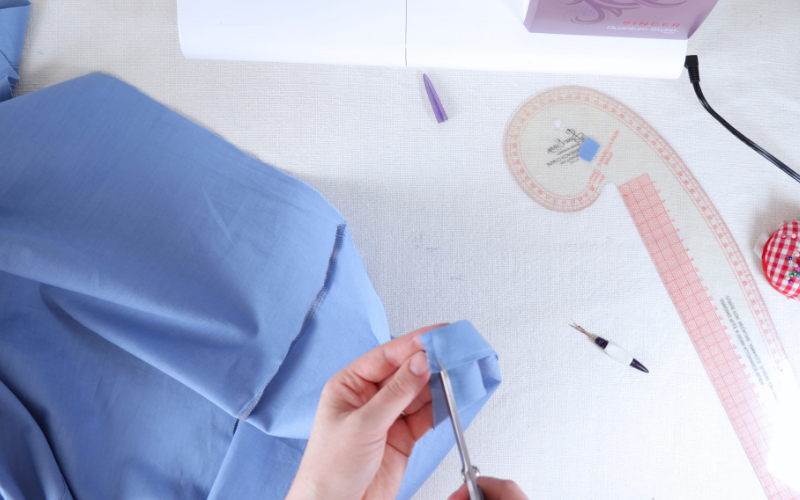
To complete the hem, I fold the fabric by as little as possible to create a narrow double-folded hem.
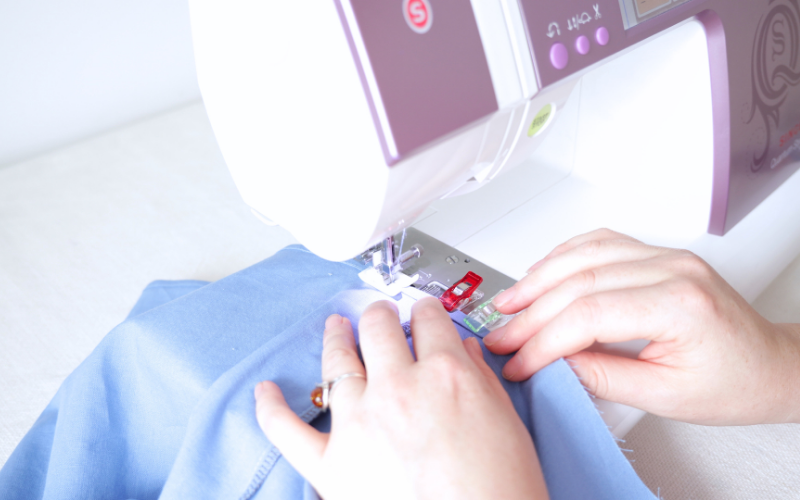
I used to pin and steam-press the folds before sewing, but I find that strategically pinning the fold at the front and side seams actually gives me a better result. When I sew, I make sure that I maintain that narrow double fold between the pinned areas. It is actually easier than it sounds!
Another tip I can share is to trim the seam allowance at the side seams to make the double fold narrower.
Step 8: Sew Buttonholes and Buttons on a Shirt Dress
The final construction step is sewing the buttonholes and attaching the buttons.
I always leave this stage until the end because it allows me to check the final spacing and alignment after the shirt dress is fully assembled.
I used a button placement tool to mark the buttonhole locations. The key point to look out for is aligning the fourth mark at bust level and the first one at the collar. Then mark the buttonhole locations for the rest of the shirt.
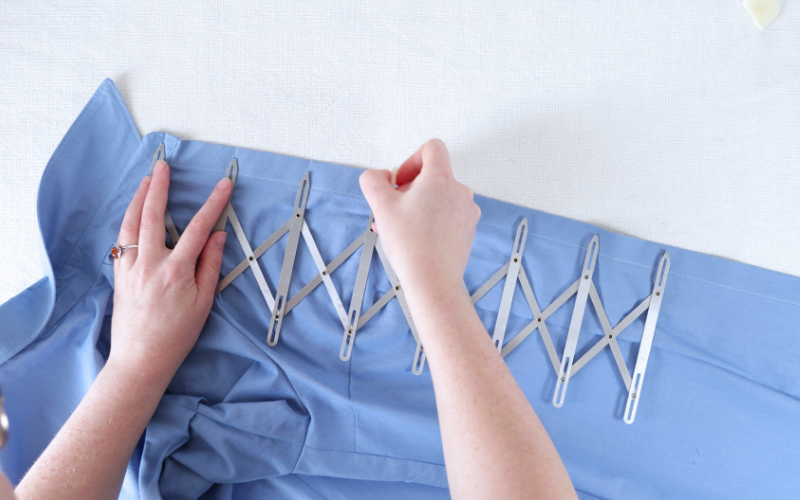
This helps reduce unwanted gaping at bust level. I explain this method in greater detail in my post on how to draft a button stand.
Before sewing buttonholes on the shirt dress, test the settings on fabric scraps using the same fabric and interfacing layers. Different fabrics behave differently, and testing first helps prevent problems such as tunnelling or uneven stitching.
Mark the button placement carefully and sew the buttonholes slowly using your sewing machine’s buttonhole function.
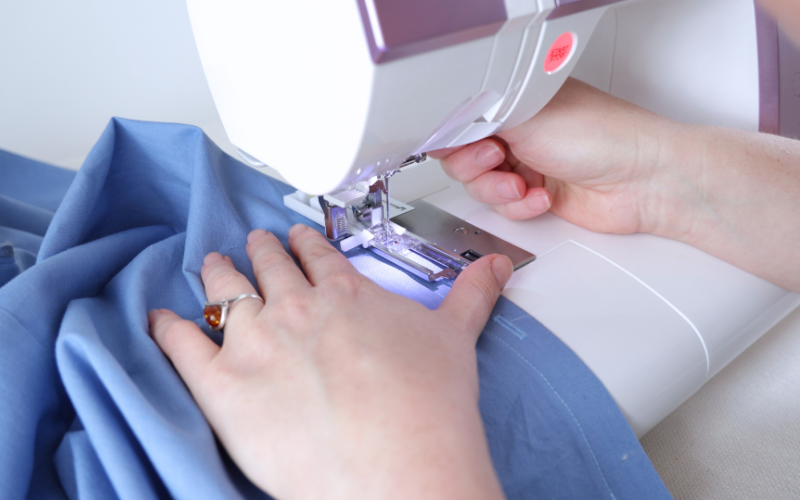
After opening the buttonholes, attach the buttons to the button stand and cuffs. I like to use a sewing machine for this, but hand sewing is fine too.
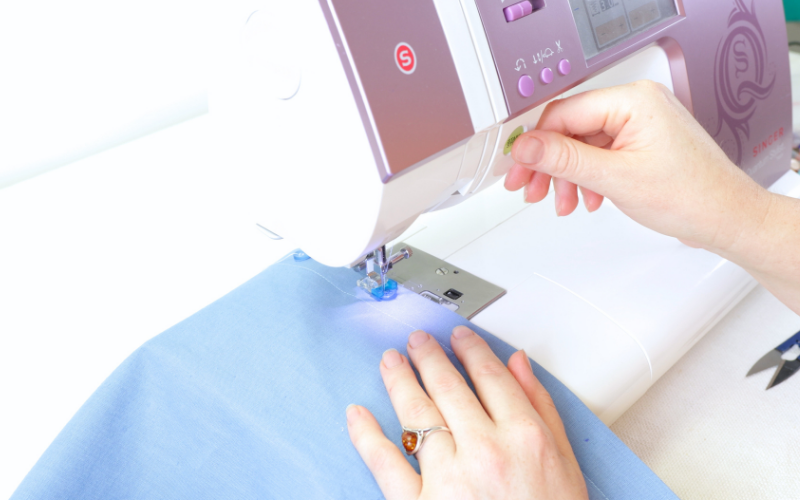
I have a separate detailed tutorial that focuses specifically on sewing machine buttonholes if you want a more in-depth guide for this step.
Step 9: Final Press to Remove Markings
This is the final, final step — I promise!
I would highly recommend giving the dress a final press to remove any soap or removable pen marks. This final steam pressing also gives you an opportunity to spot and remove any loose threads.
Frequently Asked Questions About Sewing a Shirt Dress
Conclusions
I like wearing shirt dresses. The only challenge I keep facing is that dresses with the bodice and skirt cut as one continuous piece do not fit perfectly at the back because of my swayback posture.
I have tried pretty much all the available swayback corrections, but none have really worked that well for me. So, I tend to either embrace it, the same as JLo, or make my dresses from separate bodice and skirt patterns, which eliminates the problem altogether.
About the Author: Pattern Drafting & Garment Sewing

I’ve been sewing for over 30 years and drafting my own patterns for more than a decade. I work almost exclusively with self-drafted patterns, which means I don’t rely on instructions—I rely on understanding how garments fit and come together.
Most of my methods come from figuring things out through testing, adjusting, and breaking down common problem areas using logic and geometry rather than guesswork.
On this site, I share step-by-step tutorials on pattern drafting, garment construction, and sewing techniques to help you create well-fitted, professional-looking clothes from scratch.
👉 Read more about my approach to pattern drafting and sewing here: About Me