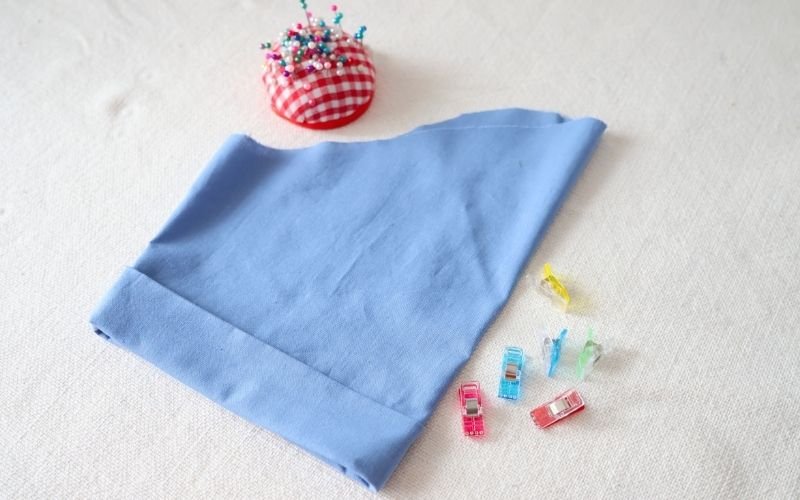
A basic roll-up sleeve is fairly straightforward to sew. However, if you want a neater finish and a sleeve that does not cinch at the fold line, it requires a little more planning.
In my post on how to draft a roll-up sleeve pattern, I showed you the tailored approach I use. In this tutorial, I am showing you how to sew roll-up sleeves using that pattern.
The same sewing method can also be used if you are working with a modified commercial pattern.
What This Roll-Up Sleeve Tutorial Will Teach You
This tutorial shows the exact sewing method I use when making roll-up sleeves. You will learn how to:
- cut and prepare the sleeve pieces
- attach the roll-up sleeve extension
- finish the sleeve opening neatly
- construct the roll-up fold
- secure the roll-up in place
The method works whether you are using a self-drafted pattern or modifying a commercial sewing pattern.
How to Sew a Roll-Up Sleeve: Process Overview
The process for sewing a roll-up sleeve follows these main steps:
- Cut the fabric and transfer the notches
- Sew the sleeve and roll-up extension side seams
- Attach the roll-up extension to the sleeve opening
- Finish the other side of the roll-up extension
- Construct the roll-up fold
- Secure the roll-up in place
- Attach the sleeve to the bodice
Why the Roll-Up Sleeve Design Matters
If you have ever made a roll-up sleeve using a commercial pattern or by modifying an existing sleeve pattern, you may have noticed that the sleeve opening does not always sit neatly against the arm.
With a straight sleeve, the roll-up can flare away from the body. On the other hand, if you add a straight roll-up extension to a tapered sleeve, the extension can cinch at the fold line.
This happens because the circumference of the roll-up at the fold line is the same as the sleeve opening, while the sleeve itself is wider further up.
Both a straight sleeve and a straight roll-up extension are relatively easy to sew. However, if you want a cleaner silhouette without either of these fit issues, it is worth using a roll-up sleeve pattern that follows the dimensions of the sleeve.
That is the approach I used when drafting my roll-up sleeve pattern.
Tools and Materials You Need to Sew Roll-Up Sleeves
You only need a few basic sewing tools and materials to sew roll-up sleeves neatly and accurately.
- Short sleeve pattern
- Roll-up sleeve extension pattern
- Fabric to match your shirt or dress
- Natural fibre fabric if preferred
- Matching thread
- Soap, chalk or a removable fabric marker
- Scissors
- Grading ruler or basic ruler
- Steam iron
- Sewing machine
- Pins or clips
I like to use soap as a fabric marker because I already have plenty of small pieces lying around, and the marks can be removed easily with a little steam.
For transferring the notches and markings on the roll-up extension, however, I recommend using chalk. You will need to use the steam iron to press the folds during construction, so chalk will make those markings easier to see while you are working.
How to Sew a Roll-Up Sleeve Step by Step
Step 1: Cut the Roll-up Sleeve Pieces and Transfer Notches
You need to cut two pieces for the short sleeve and two pieces for the roll-up sleeve extension.
My patterns are drafted without seam allowances, so I add them at this point. I explain in more detail why I do not add seam allowances to my sewing patterns in my guide on how to add seam allowances.
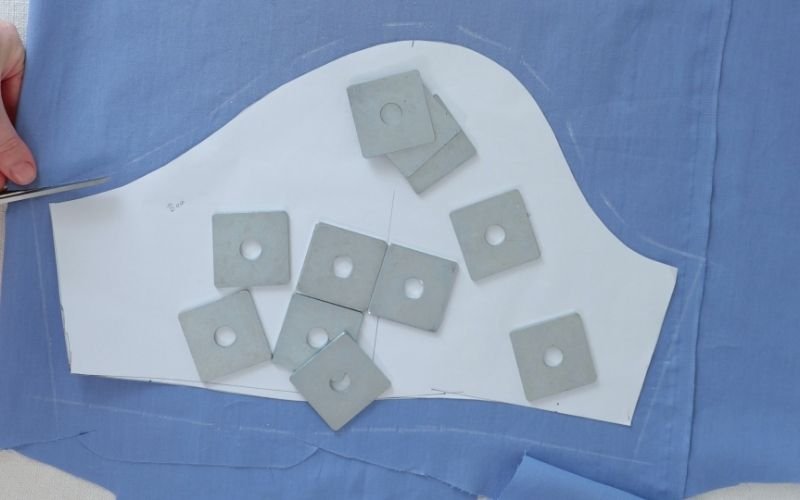
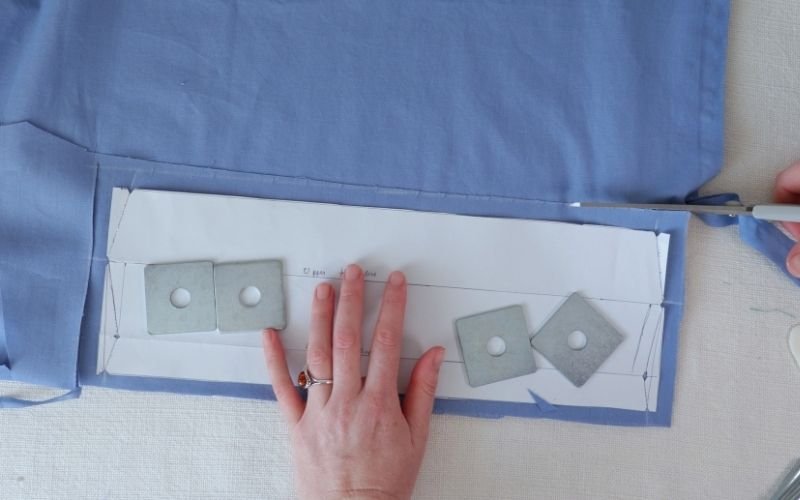
Carefully transfer the shoulder and centre-point notches onto the sleeve, as well as the upper middle-point notch on the sleeve extension and the fold-line markings.
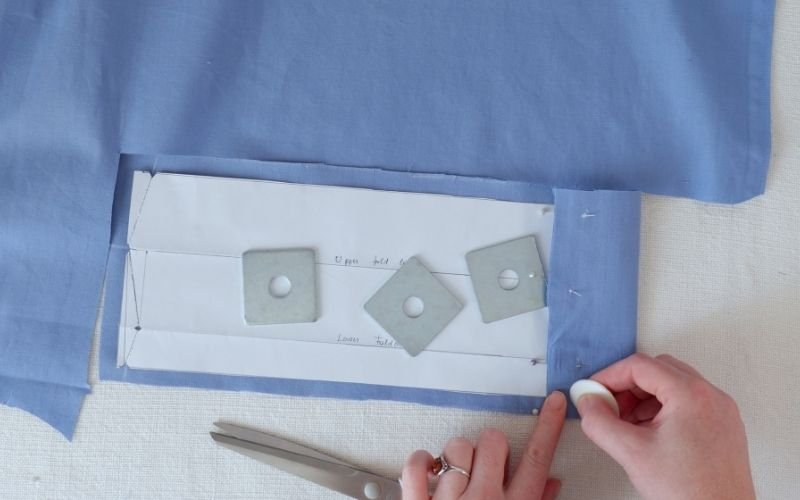
I am using chalk for the fold line because the marking will remain visible while I am pressing the folds.
I cut the roll-up sleeve extension as a rectangle to keep the pattern simple. This means that the seam allowance will be larger than my usual 1 cm in some areas, making accurate notch transfer particularly important.
To make sewing easier, you can also connect the side-seam notches with a straight line. This gives you a sewing guide for the next step.
Step 2: Sew the Side Seams of the Sleeve and Roll-Up Extension
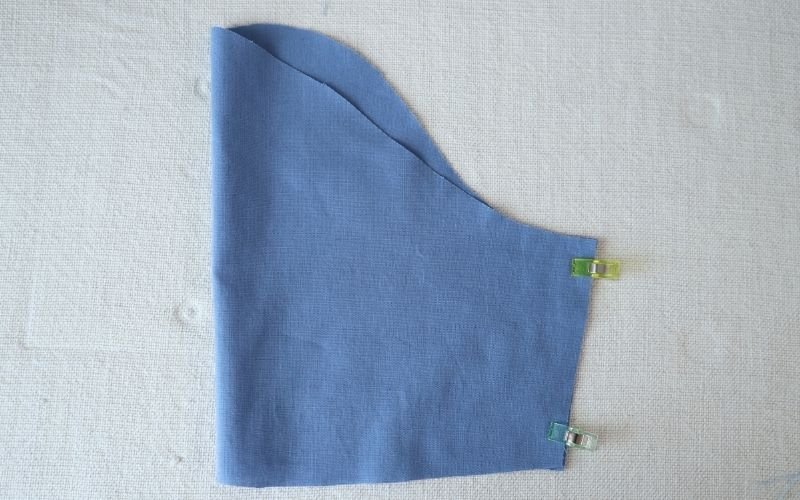
With right sides facing, sew the side seams of the sleeve.
Then sew the side seams of the roll-up sleeve extension, connecting the side-seam notches with a straight line.
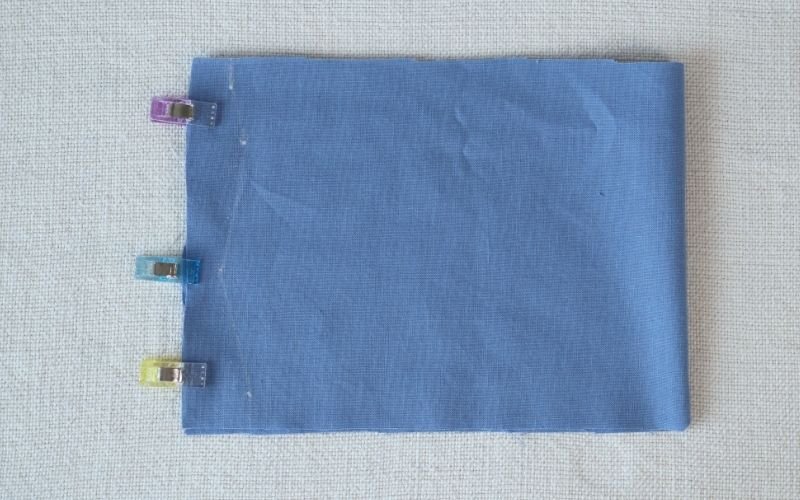
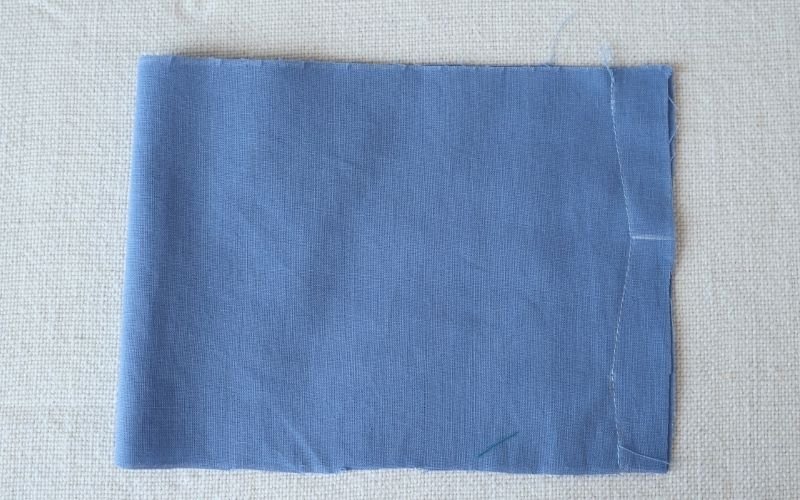
Carefully press each seam as sewn first, then press the seams open.
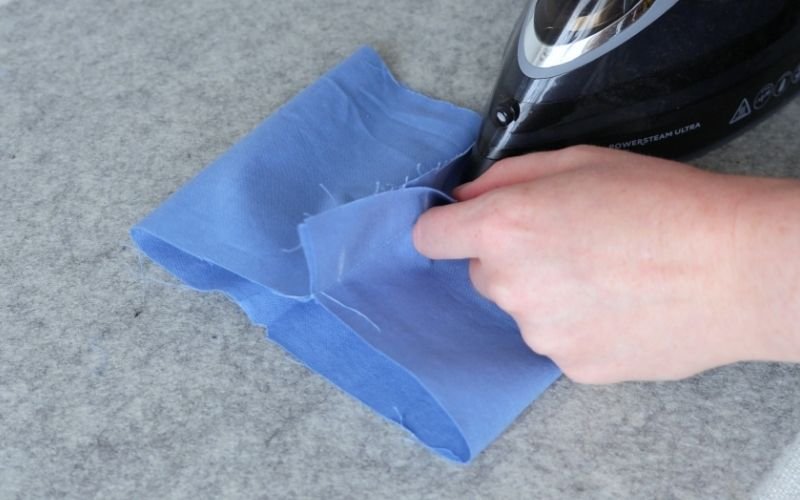
This can be a little tricky on the zigzag-shaped seam of the roll-up extension. I find it easier to press a small section at a time from each end. This reduces the chance of creating unwanted crease lines.
Next, neaten the raw edges using your preferred seam finish.
I am using an over-locker finish here. If you are using another seam finish, you may need to trim the seam allowance on the roll-up extension first.
Step 3: Attach Roll-up Sleeve Extension to the Sleeve Opening
Turn the sleeve right side out.
Match the centre-point notches and the seams, then pin the extension to the sleeve with right sides facing.
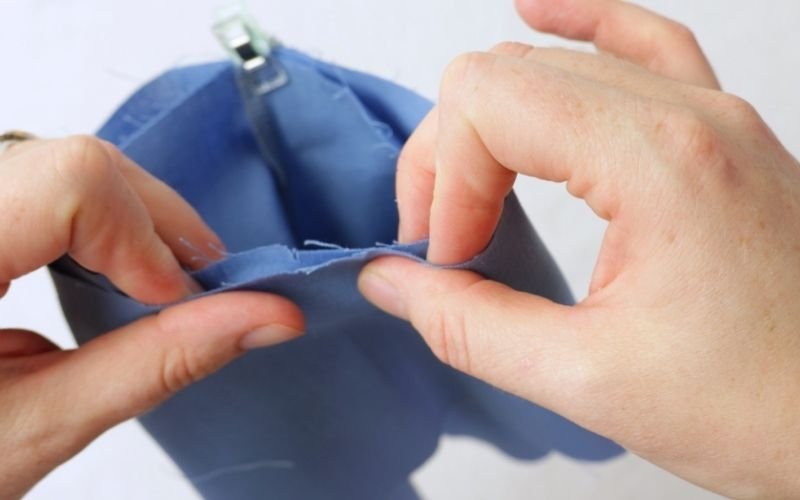
I find it easier to slip the extension over the sleeve rather than trying to manipulate the sleeve from the inside. Make sure the notch on the upper edge of the extension is aligned with the corresponding notch on the sleeve opening.
Sew the two pieces together.
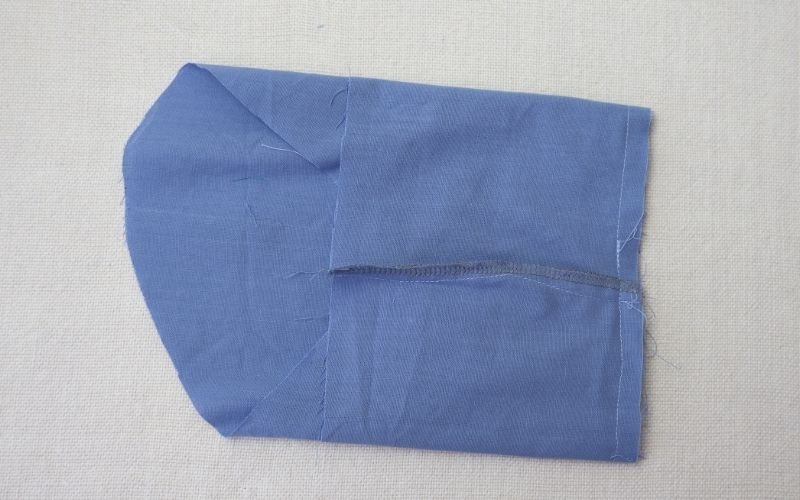
A sewing machine free arm can make this much easier, particularly if your sleeve opening is small. Alternatively, you can sew from the inside of the sleeve.
Press the seam as sewn, then press it open.
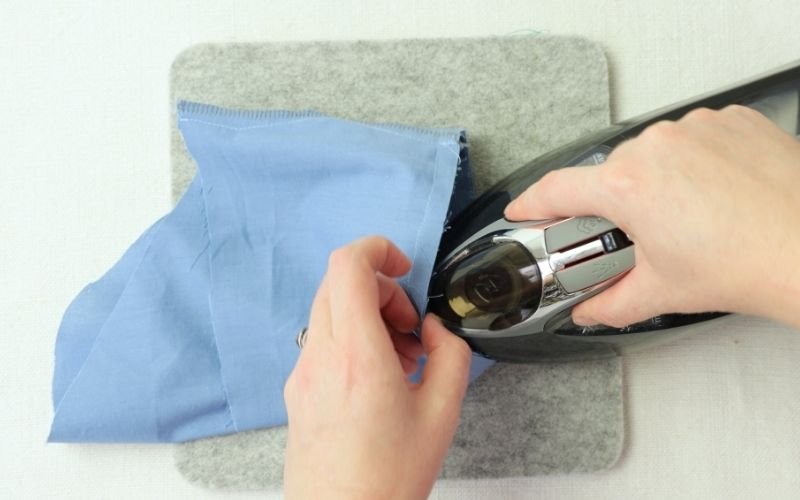
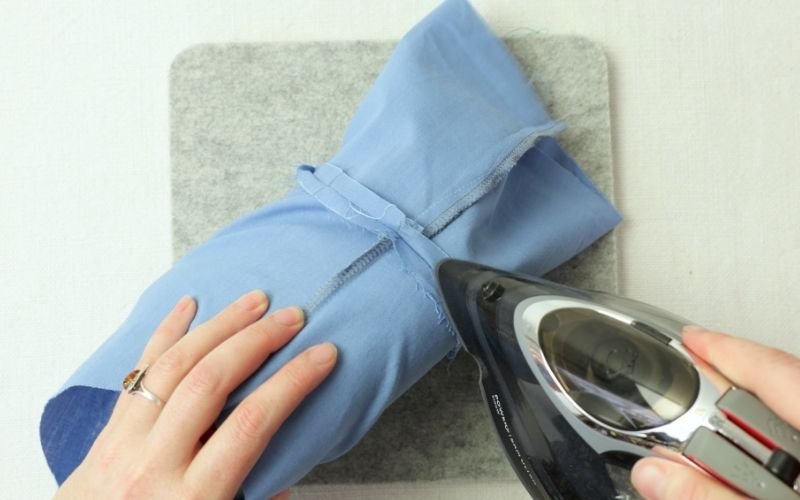
Next, neaten the raw edges. A pinking-shear finish is sufficient here because this seam will be enclosed later.
I opted for an over-locker finish, but in hindsight, I would have used a plain seam finish and slightly reduced the seam allowance. This would help reduce the bulk at the finished roll-up.
Press the seam allowance towards the extension.
Step 4: Finish the Other Side of the Roll-Up Sleeve Extension
Fold the raw edge (the facing) of the roll-up sleeve extension towards the wrong side and press it in place.
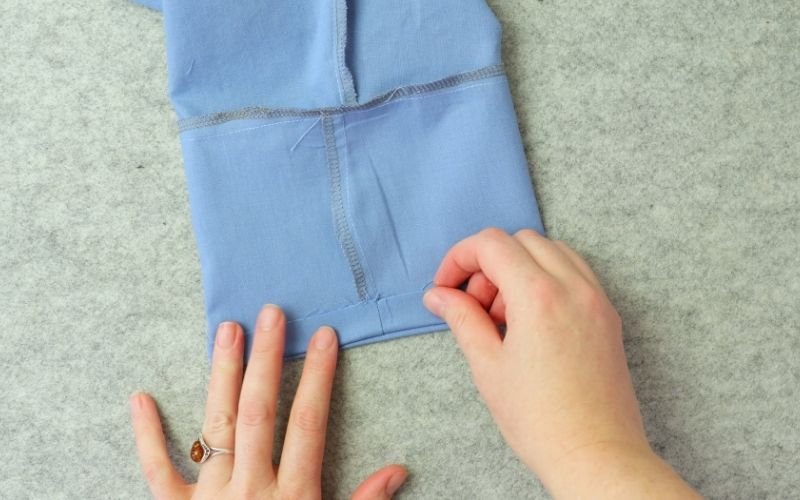
Next, fold the roll-up sleeve extension over the sleeve and the extension seam, with wrong sides facing.
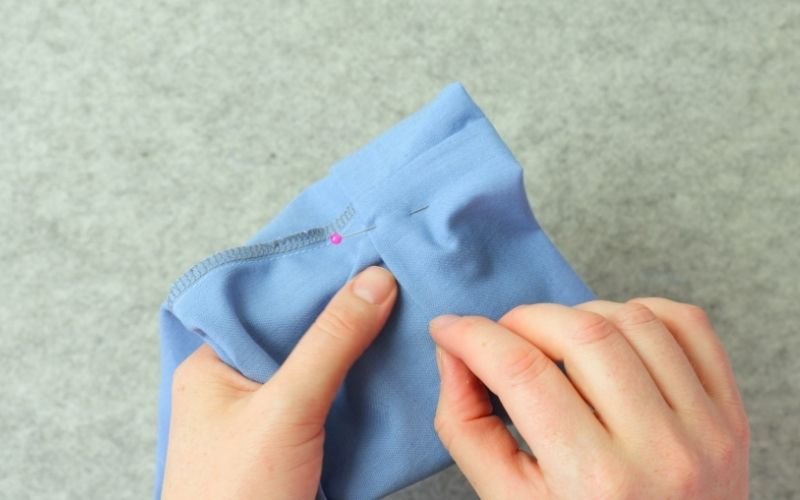
Press it in place and pin, making sure that the seam is hidden underneath the roll-up extension.
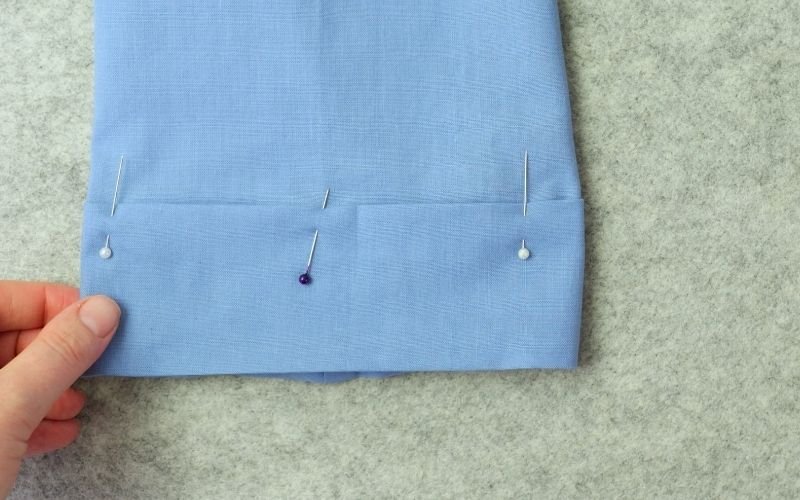
Sew close to the edge, enclosing all the raw edges and the connecting seam.
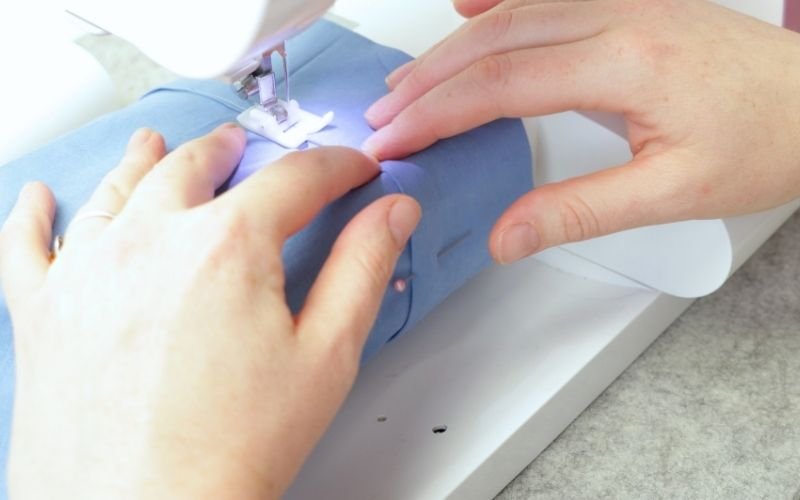
Again, use the free arm of your sewing machine if the sleeve opening is narrow. Alternatively, you can sew from the inside of the sleeve, although you will need to reposition the pins as you work.
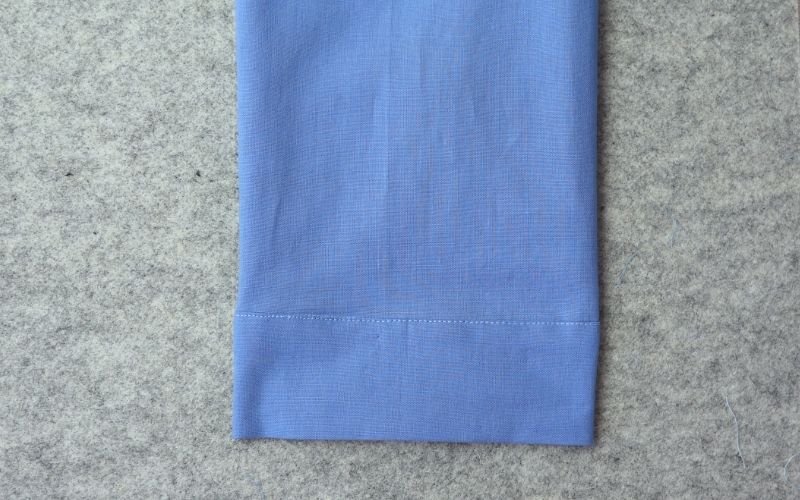
Step 5: Construct the Roll-up Sleeve Fold
With the main construction of the sleeve complete, you can now create the final roll-up fold.
Following the indentation at the side seam, fold the completed roll-up sleeve extension upwards.
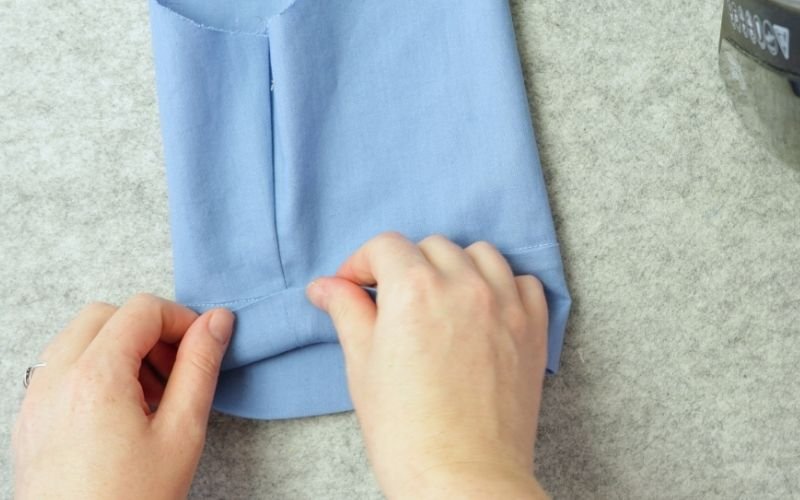
The hidden seams will help you identify the correct position for the fold.
Press the fold carefully into place.
Step 6: Secure the Roll-Up Sleeve
Once you are happy with the position of the fold, secure the roll-up in place.
You can do this either by stitching over the seam line with your sewing machine or by sewing it by hand.
You only need to secure the section close to the upper fold of the roll-up sleeve. The rest of the extension can remain free.
Step 7: Attach the Sleeve to the Bodice
Once the roll-up sleeve is constructed and secured, attach the sleeve to the bodice following the usual sleeve insertion method for your pattern.
If you are making the shirt from scratch, you may find my shirt sewing series useful, as I cover the individual components and construction steps in more detail.
Final Thoughts on Sewing Roll-Up Sleeves
A roll-up sleeve does not have to be complicated to sew, but the pattern shape makes a big difference to the finished result.
A simple straight extension will work, but it can either flare away from the arm or pull in at the fold line, depending on the shape of the sleeve.
By drafting the roll-up extension to follow the dimensions of the sleeve, you can create a much neater and more intentional finish.
If you are making your own pattern, I recommend starting with my roll-up sleeve pattern drafting tutorial before coming back to this sewing tutorial.
About the Author: Pattern Drafting & Garment Sewing

I’ve been sewing for over 30 years and drafting my own patterns for more than a decade. I work almost exclusively with self-drafted patterns, which means I don’t rely on instructions—I rely on understanding how garments fit and come together.
Most of my methods come from figuring things out through testing, adjusting, and breaking down common problem areas using logic and geometry rather than guesswork.
On this site, I share step-by-step tutorials on pattern drafting, garment construction, and sewing techniques to help you create well-fitted, professional-looking clothes from scratch.
👉 Read more about my approach to pattern drafting and sewing here: About Me