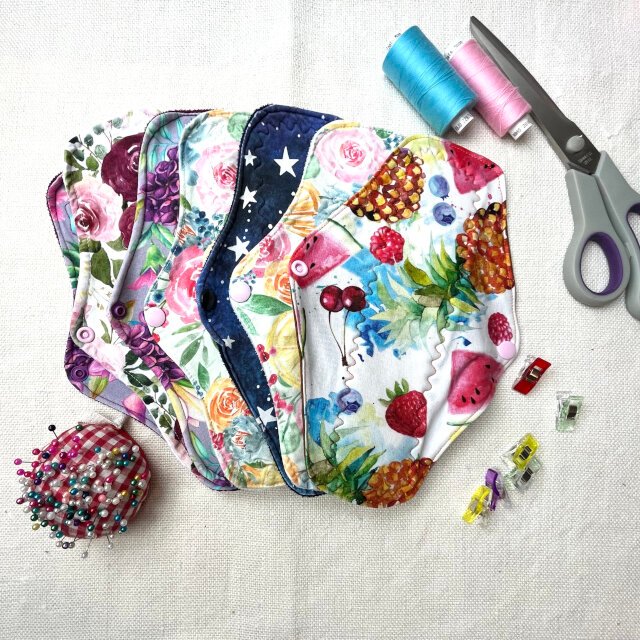
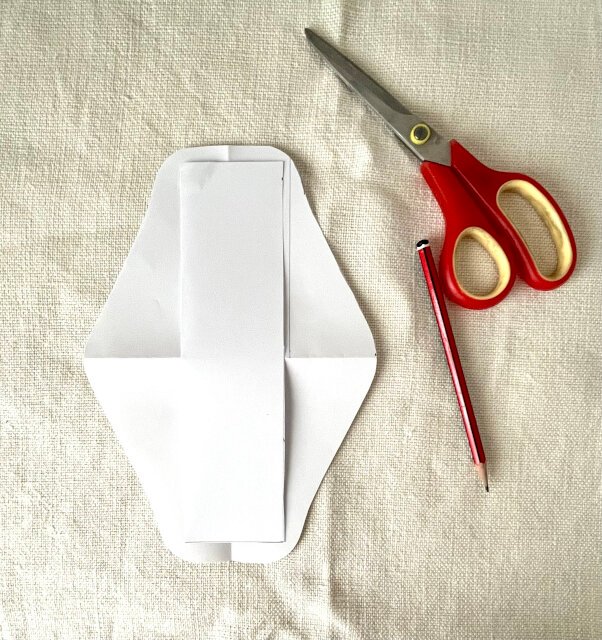
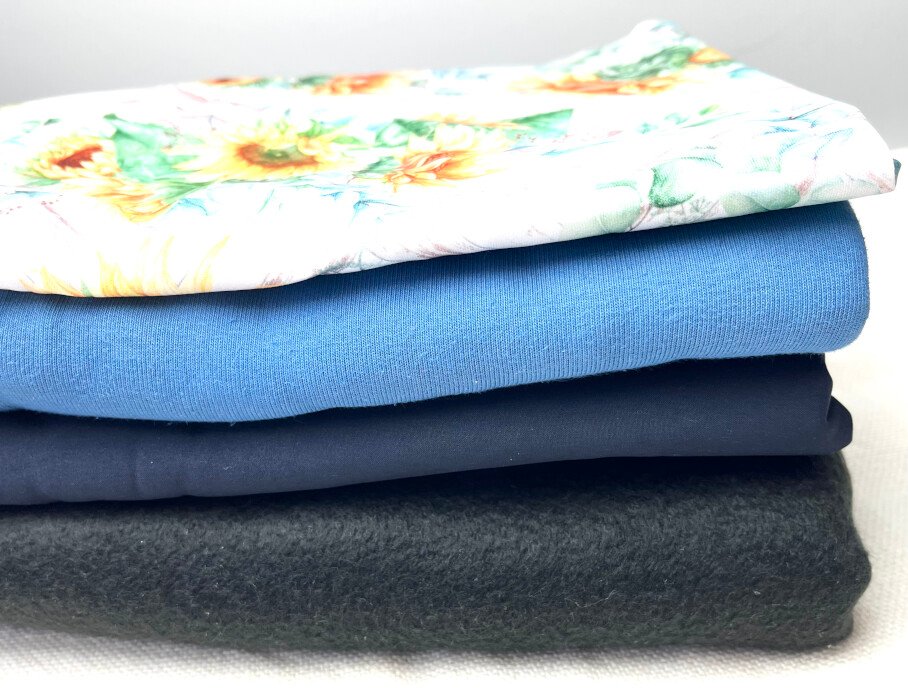
Reusable sanitary pads are a practical, comfortable, and sustainable alternative to disposable menstrual products. In this step-by-step sewing tutorial, I’ll show you how to sew a reusable sanitary pad using natural fabrics and a shape designed for everyday comfort. This tutorial follows directly from my post on how to draft a comfortable reusable sanitary pad pattern, where you can create a custom-fit pattern before sewing.
What you’ll learn in this reusable sanitary pad sewing tutorial
In this reusable sanitary pad tutorial, you will learn:
- How to sew a reusable sanitary pad that stays comfortable and secure
- The best fabrics for absorbent, washable sanitary pads
- How to assemble layers for comfort and leak protection
Materials required to sew a reusable sanitary pad
- Sewing pattern for the sanitary pad (see my previous post)
- Top fabric (cotton jersey, woven cotton, fleece, microsuede, cotton or bamboo velour)
- Absorbent layers (towelling, French Terry, cotton or bamboo fleece, cotton jersey)
- Backing fabric (PUL, polar fleece, fleece, French Terry, brushed cotton or sweatshirt fabric)
- Multipurpose thread in matching or contrasting colour
- Closures (KAM snaps, metal snaps, button, velcro or ties)
- Sewing machine (though you can totally get away with sewing by hand)
- Soap or chalk for tracing
- Scissors
- Pins or wonder clips
I have written quite extensively on the types of fabrics and closures you can use for reusable sanitary pads on other blog posts that I have linked to on each materials required above.
Cutting the fabric for the reusable sanitary pad
You will need to trace one of each the top and backing piece in your chosen fabric, on the wrong side. My preference is cotton or viscose jersey for the topper and French Terry or sweatshirt for the backing layer (I talk about the fabric options in more detail in a separate blog post).
I choose to use a colourful fabric for the topper to brighten up my day and a solid colour backing, usually in a complimentary shade. Obviously, the colours do not matter as much if you just want to use whatever fabric you have. If you are using a light fabric, use a pencil or washable marker / pen for tracing the pattern. For the dark fabrics, use a piece of soap for tracing. I do not tend to use chalk as I find it too hard and it moves my fabric around a bit too much. It probably is just user error, but old habits die hard!
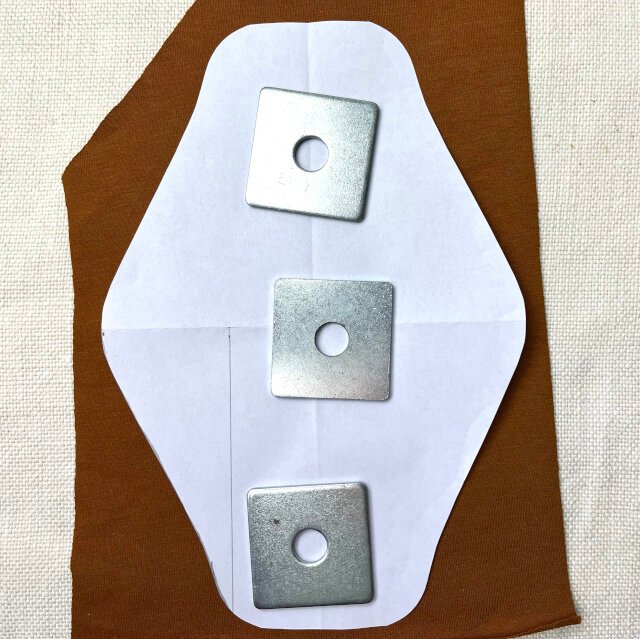
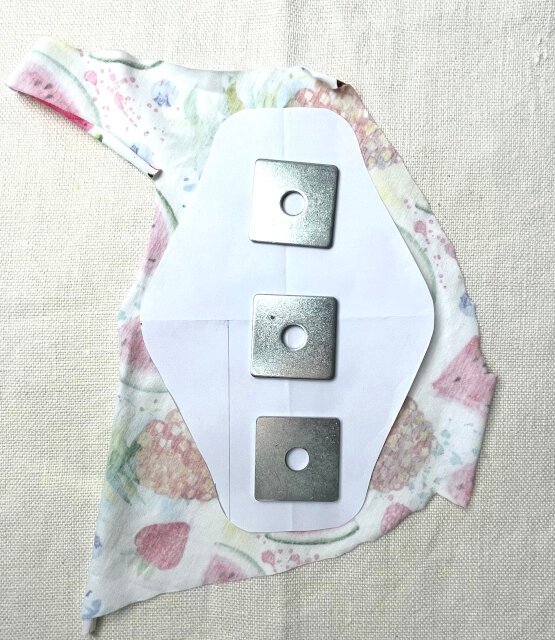
You will note that I have not added the seam allowances to the pattern pieces, but that is intentionally done. The trace line will work as a guide to help align the absorbent layer onto the pad. It will also be your stitching line. Now, cut out both pieces, leaving 1cm (3/8 inch) seam allowance around the pieces. It does not have to be accurate but try to leave at least the suggested allowance.
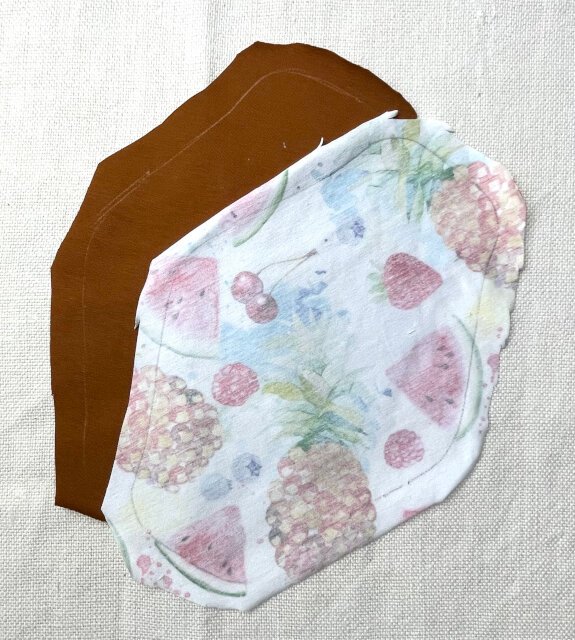
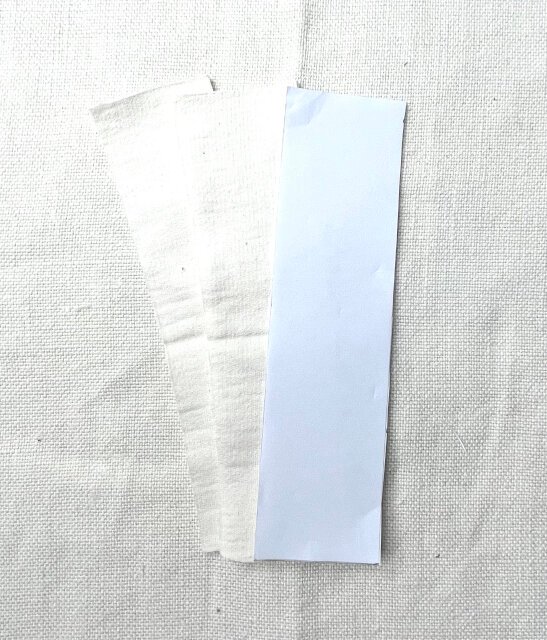
Then cut out two pieces of the absorbent layer, or you can cut two on a fold, it does not matter much for the purpose of absorbent layer. There is no need for a seam allowance as these will be sandwiched between the topper and the backing layer.
Sewing the reusable sanitary pad – step by step
Next, attach both pieces of the absorbent layers to the wrong side of the topper with two pins, aligning at the centre. This layered construction is what gives reusable sanitary pads their absorbency while keeping the pad flexible and comfortable to wear.
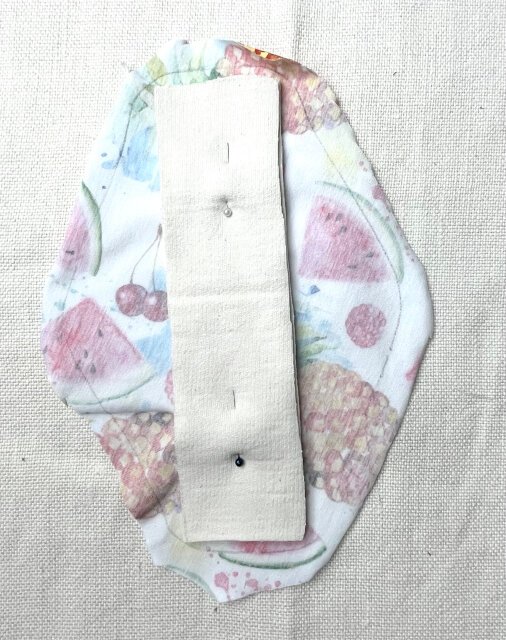
Using the zig zag or similar decorative stitch on your sewing machine, sew all around the absorbent layers, close to the edges, backstitching at the start t the end, to attach the pieces to the topper.
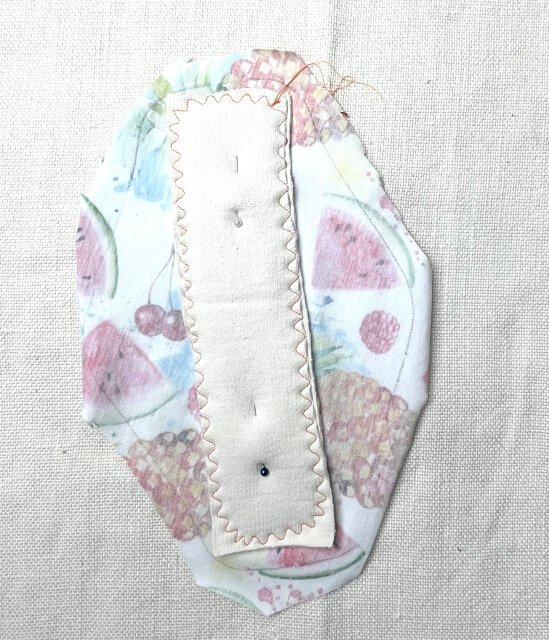
Clip the corners of the absorbent layers if you went for a smooth curve, rather than stitching all the way to the corners. This is completely optional but I find that the corners that are not attached to the top layer may curl in the wash.

Now, attach the topper to the backing layer with right side together.
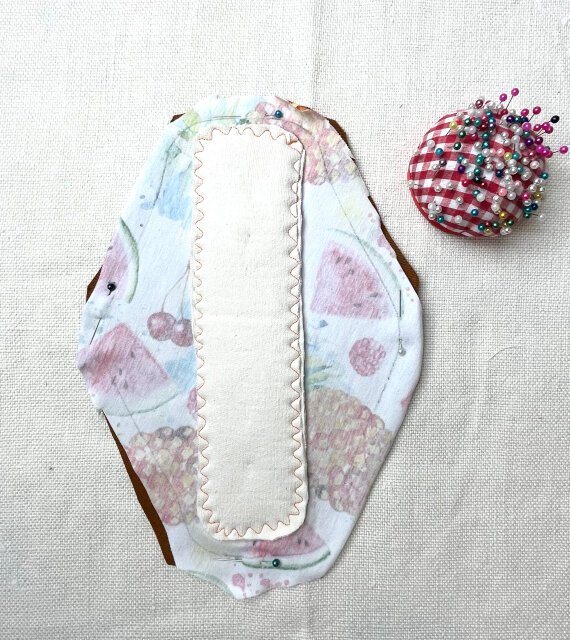
Sew all around it with a straight stitch, backstitching at the start and the end, following the trace line on the top layer and leaving the gap of around 4 cm (2 1/2 in) on a side, for turning the piece right side out.

Trim the seam allowance to around 0.5cm (1/4 in), but do not trim the allowance at the sanitary pad turning hole.
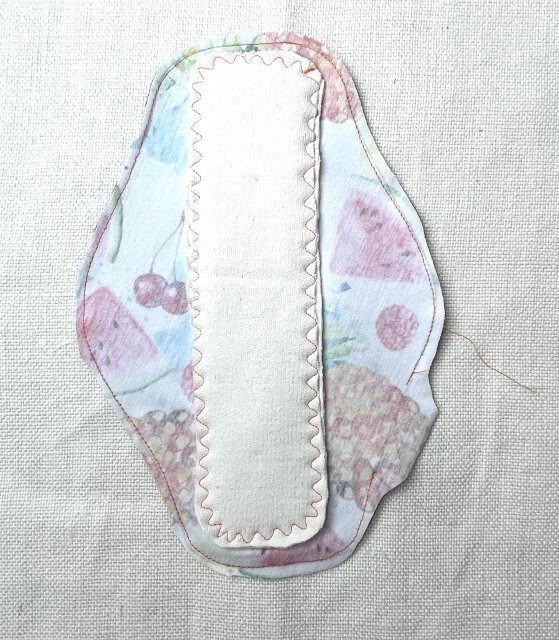
Turn the sanitary pad inside out, making sure that all the corners and curves are smooth as possible.

Then, topstitch the pad close to the edge with a straight stitch, backstitching at the start and end of the seam, closing the turning hole.
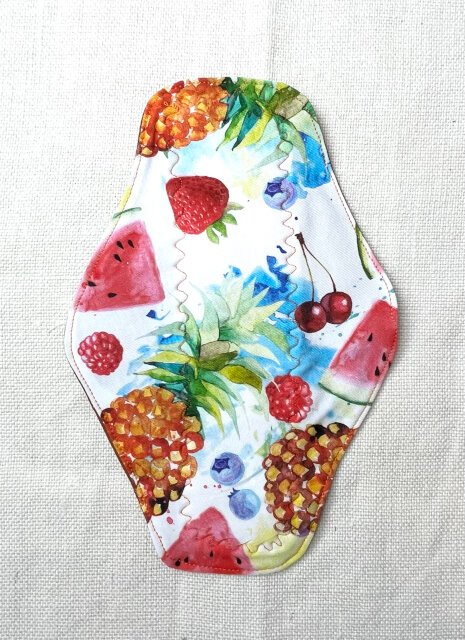
Adding closures to the reusable sanitary pad
I use KAM snaps for my pads as I have a few of those available. You can buy a kit inexpensively on the Amazon, however, you can use a button and buttonhole closure, a hook and loop tape or even attach ties to your pad. The latter I would suggest to attached when you are sewing the backing to the top layer.
To attach the KAM snap, position the stud close to the edge to one of the wings, facing the back layer, and the socket to the other wing, facing the opposite side. It is not important, whether you are putting the socket on the left or wright wing, what matters is that the socket and the stud face opposite sides to ensure that you can close the pad. If you are ensure, before attach the socket, check that you can snap closed the sanitary pad.
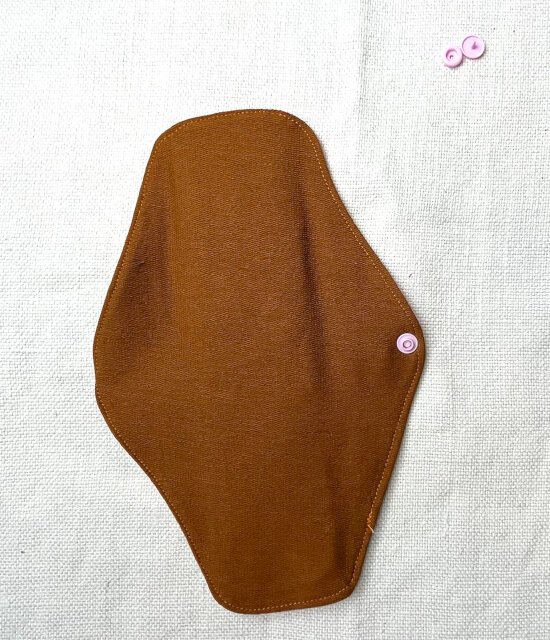
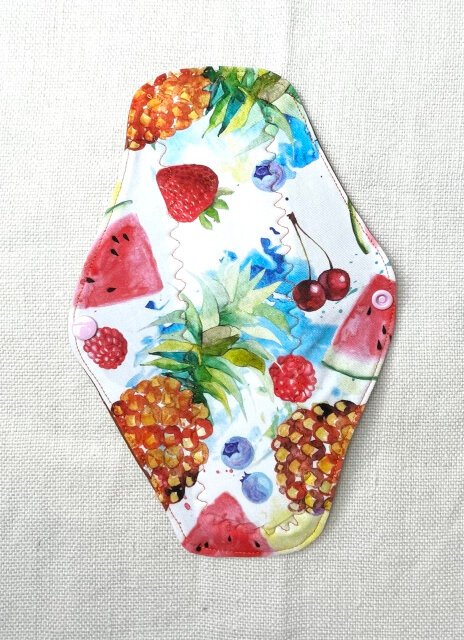
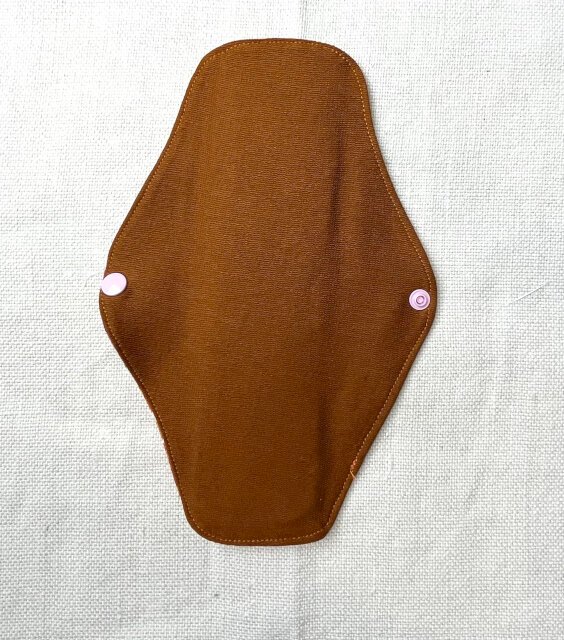
Excellent, now that you have made your pad, make a few more and ditch those plastic disposable ones that are filled with chemicals, and feel smug! 🙂
How to wash reusable sanitary pads
To keep reusable sanitary pads clean and hygienic after use, there are several washing methods that work well. I have tried both storing the pads until the end of the period and then rinsing and washing, rinsing them at the end of the day and rinsing after each one and storing in a wet bag for washing when you have the next laundry load going. In my opinion, the method that strikes the balance of keeping the pads stain free and reduce the manual work, is to store them in a wet bag or bucket and rinsing with a little detergent at the end of each day.
I store mine in a bucket in a shower or bath. Then at the end of the day I add hot water and a teaspoon of washing powder (or soap) and use a plunger to agitate the pads. I then drain the pads and wring them out, rinse with extra water in the same bucket, before storing in a wet bag until I need to wash the rest of the laundry. I tend to add them to whatever load I have on next.
Of course, you can wash them entirely by hand!
How to store reusable sanitary pads
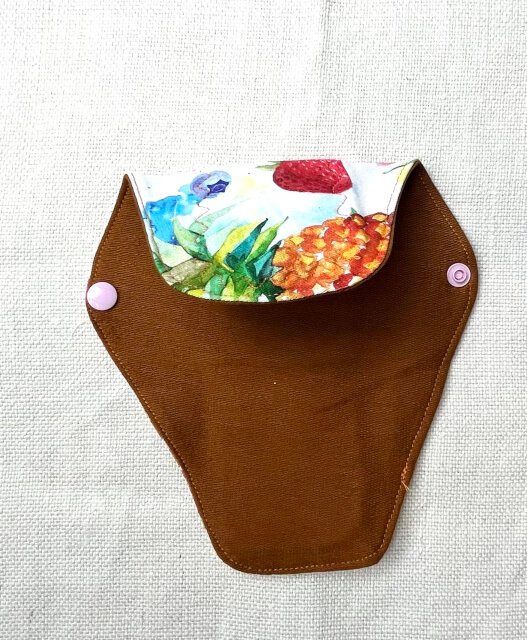
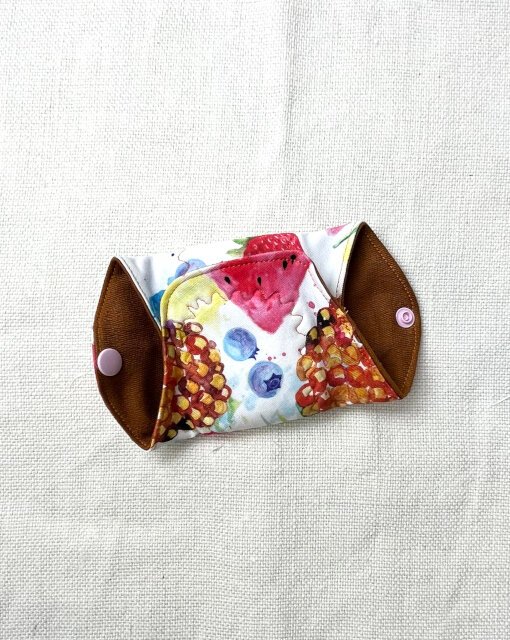
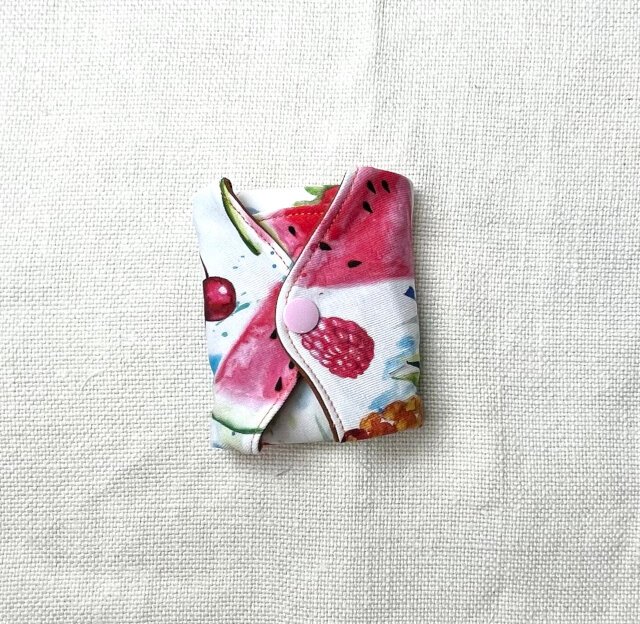
As a storage solution, I used a small basket in which I keep all the pads on top of each other. However, when I pack them to go, I like to fold down the top and the bottom of the pad on itself, fold over the wings and snap the button. This way, it becomes discreet little pillow that you can stash in your handbag, pocket or carry by hand, and none the wiser as to what it is.
Frequently asked questions about reusable sanitary pads
Final thoughts
Sewing your own reusable sanitary pads is a simple and effective way to reduce waste while creating a comfortable, reliable alternative to disposables.
What I enjoy the most of using the reusable sanitary pad over all the other options, is that it makes no sound when I swap it in the cubicle. It has also been the most leakproof solution ever. This pattern has been so reliable, that I even used it as a maternity pad without leaks!
If you enjoyed this post, you may like to delve deeper on top layer materials for reusable pads, reliable absorbent material for reusable pads, backing materials for reusable pads, and closure options for reusable sanitary pads.
