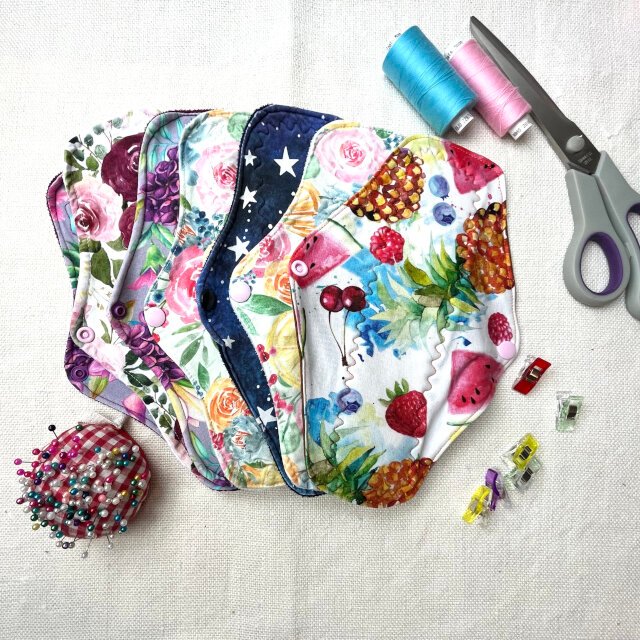
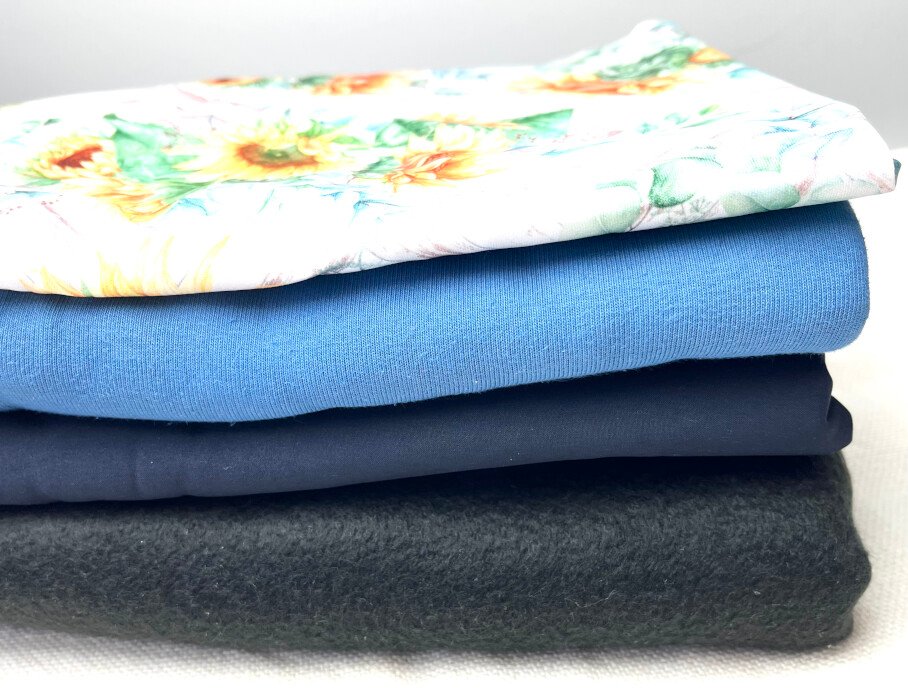
In this tutorial, I’ll show you how to draft a reusable sanitary pad pattern that’s comfortable, secure, and easy to sew at home.
In the 2020 I started using reusable cloth nappies for my baby. It was quite a rabbit hole that led to rethinking of all of my choices on both the everyday items and food. It was like all my beliefs and value systems changed overnight, specifically on life and the impact that we have on Earth.
One of the first items after modern cloth nappies and reusable wipes that I adopted was reusable menstrual pads. As a recreational seamstress that has been sewing for more than three decades (yes, my interest in sewing sparked when I was quite young) I started making my own reusable pads that at some point I even sold with great success. Over the last five years, I have made countless pads for my friends, family and myself from a pattern that I drafted myself. And in this blog post I am going to share my secrets on how to draft the pattern for the most comfortable pad ever!
Materials Needed to Make a Cloth Menstrual Pad Pattern
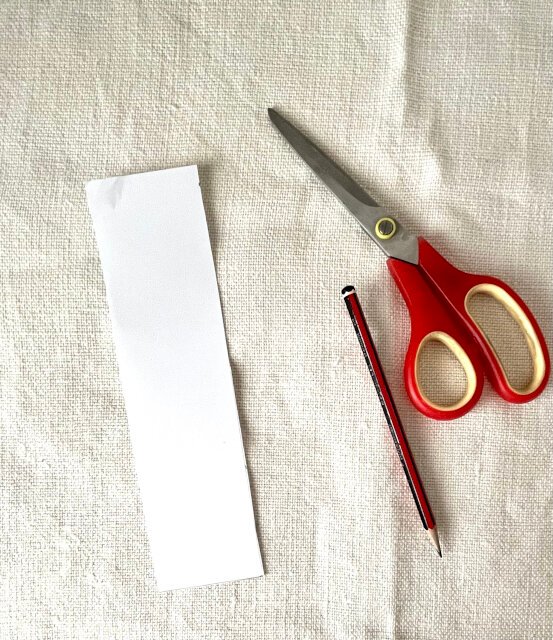
- A4 size paper
- Pen or pencil
- Ruler
- Scissors
Folding the Paper for a Symmetrical Reusable Pad Pattern
The pattern that we are going to create is symmetrical both horizontally and vertically.
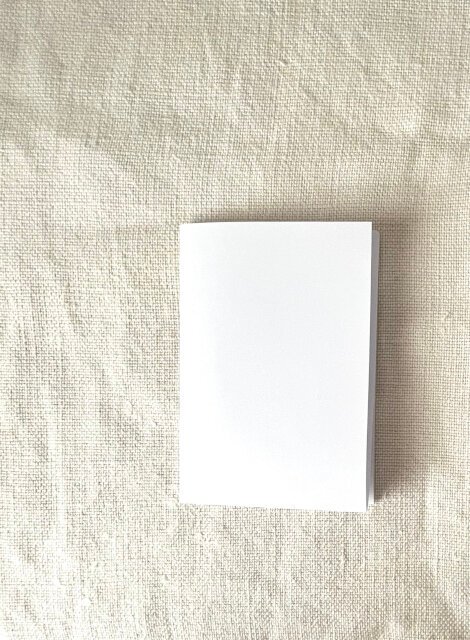
Start by laying your paper in a portrait orientation. Fold the sheet in half from bottom up to meet th top of the sheet. Then fold it in half again, folding from the left to right. This will leave your paper with a folded corner on the bottom left corner and with open sides on the top and right (see image below).
Reusable Sanitary Pad Pattern Measurements Explained
I am based in the UK, so I am using metric system for all the measurements, however, I have provided the close equivalent in imperial measurements in the brackets. The length of the pad is going to be 25 cm and the width will be 17cm. (10x 6 3/4 inches).
This is my preferred length of a pad for all occasions – be it night pad, day pad, for heavy or light flow, and even for the maternity wear. My customers also have found this to be super comfortable and suitable for their use. However, if you wanted a bigger pad, you can always make it longer but I would recommend to keep the width unchanged to fit flush against your underwear and to avoid the pad from slipping around if you suddenly decided to go for a sprint.
How to Draft a Reusable Sanitary Pad Pattern at Home
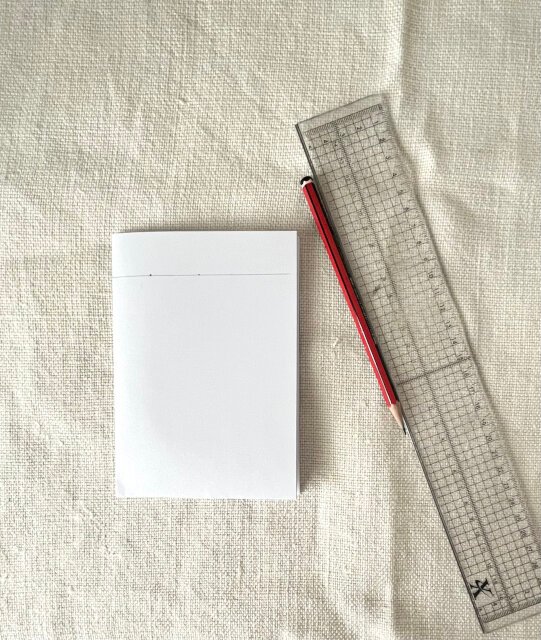
Measuring from the bottom of the folded sheet, draw a line across the paper that is 12.5cm (5 inches) away from the bottom of the sheet. This will be the top of your pattern.
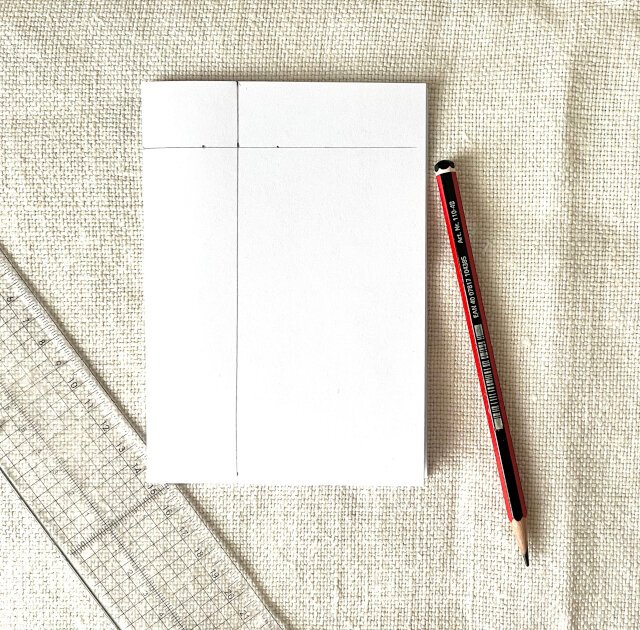
Then measure 3.5cm (1 3/8 inches) from the left along this line and on the bottom of the sheet, measuring from the bottom left corner. Connect both points with a straight line.
Drafting the Wings for a Cloth Menstrual Pad Pattern
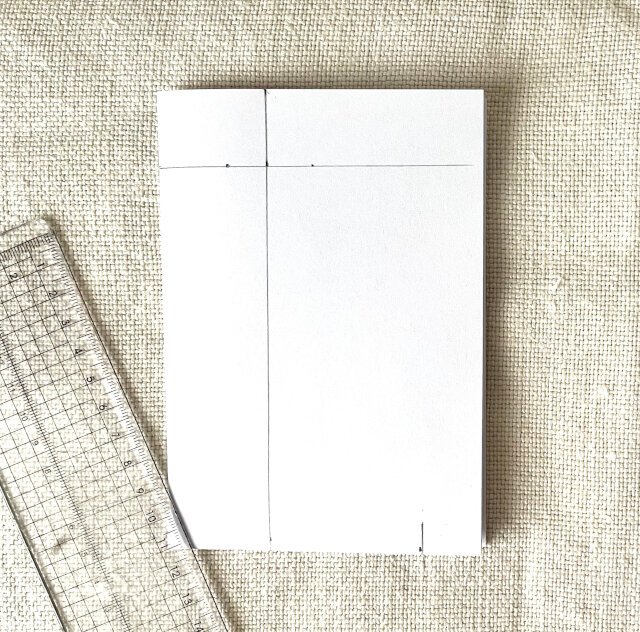
From the bottom left corner, mark a point on the bottom that is 8.5cm (3 5/16 inches) away from the corner. From this point, draw a line that is 1cm (1/2 inch) long, perpendicular to the bottom of the sheet. This is going to be the width of the wing.
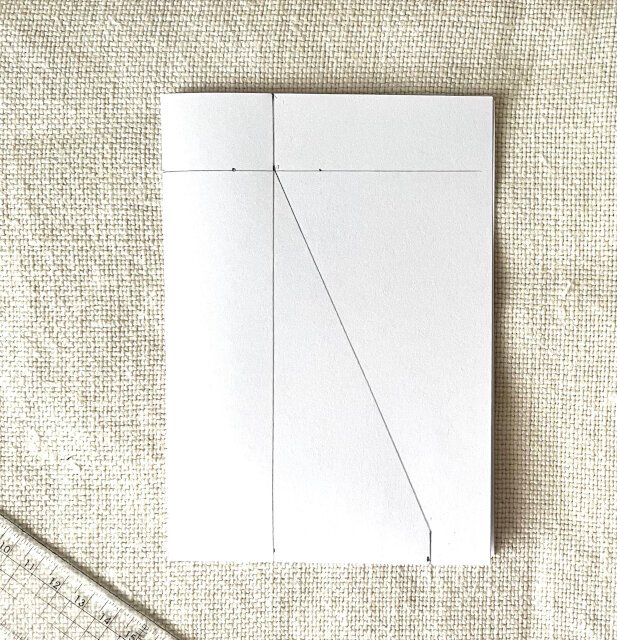
Now, connect the top of the pad with the wing at the point that that is 1cm (3/8 inch) above from bottom of the sheet.
Smoothing the Curves for a Comfortable Reusable Pad Fit
What you get is rather blocky and sharp looking pad that would be hard to sew. So, either by hand or using the French curve, smooth all the sharp corners. I also like to come slightly inwards, towards the pads at the sides, to increase the better fit.
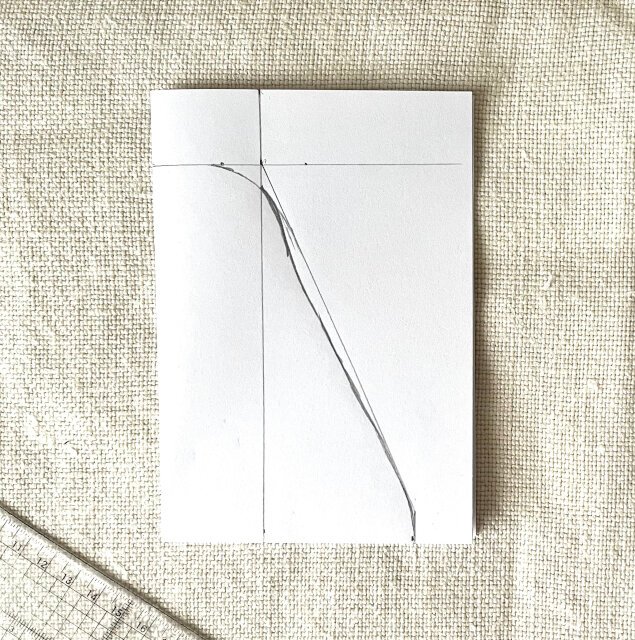
Cutting Out the Reusable Sanitary Pad Pattern
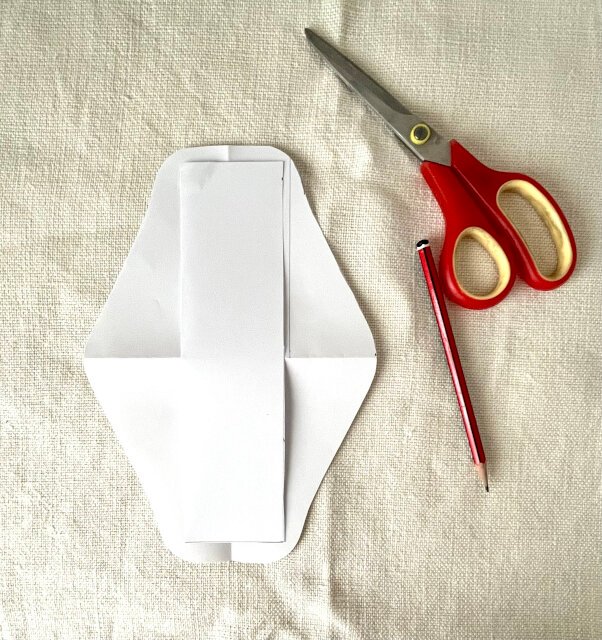
Keeping all the folded paper together, cut out the pad along the smoothed curves and lines you made.
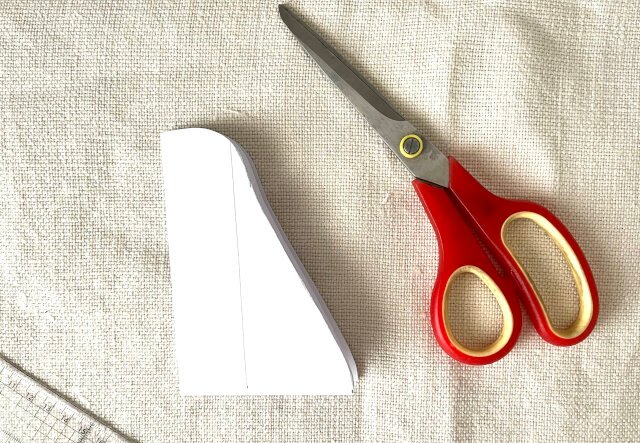
Et voila, you have a finished pattern for the outside layers of the sanitary pad.
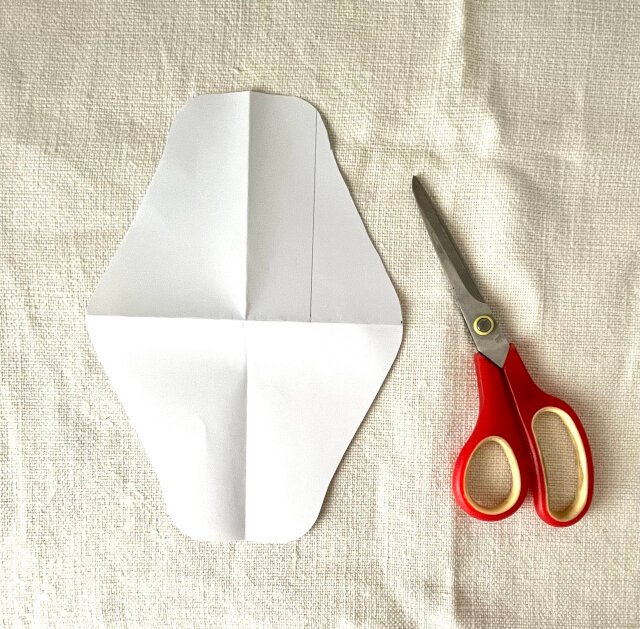
How to Draft the Absorbent Core for a Cloth Menstrual Pad
Next, we need to draft a pattern for the absorbent layers. This fairly easy, you need to make a rectangle that is 2cm (3/4 inches) shorter than the length of the pad and 1cm (3/8 inch) narrower than the width at the top (and bottom). Providing that you have not change the width of the pad, then it is always going to be 6 cm (2 3/8 inches) wide. So, for the pad that I am drafting it is 6 x 23 cm (2 3/8 x 9 inches).
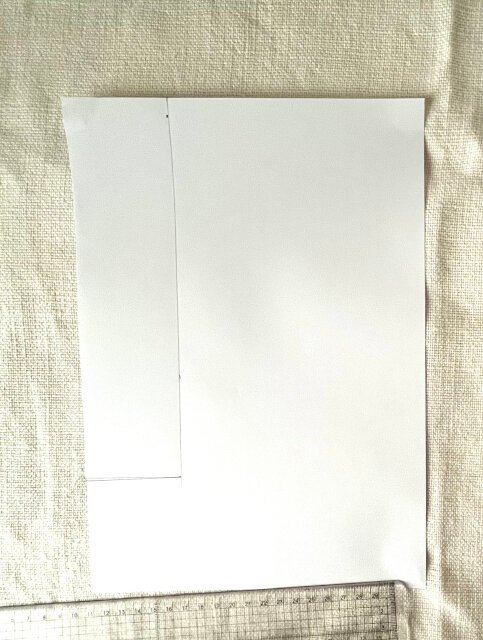
Cut the pattern out.
Finished Reusable Sanitary Pad Pattern Template
Great, now you have a complete pattern and on my next blog post you can read how to sew a reusable sanitary pad or delve deeper and explore the best fabrics for cloth menstrual pads.
